
You may discover a detailed walkthrough for Unearthed, the fifteenth task we recommend completing, in this section of the Starfield Walkthrough. We’ll point out crucial locations, collectables, and any chances for additional loot as you travel in pursuit of information about just how deadly the Artifacts might be along the road.
Walkthrough for Unearthed
After completing “In Their Footsteps,” it is advisable to make your initial stop at The Lodge before embarking on any other destinations. This sequence will enable you to initiate “Final Glimpses” and conclude “Missed Beyond Measure” prior to venturing towards Luna. The Emissary gives you a Moon Base Key and encourages you to explore Luna.
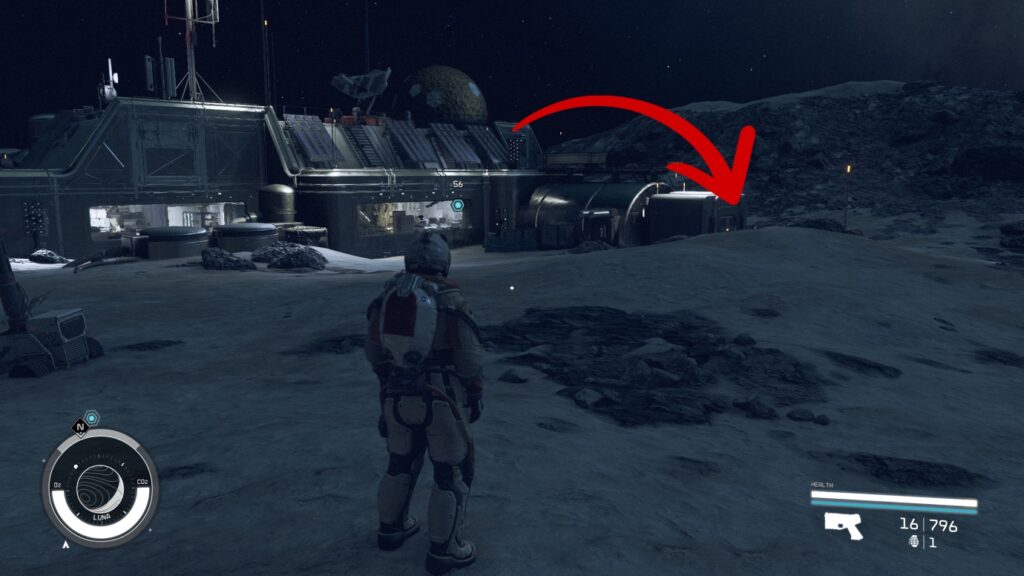
Go to the Nova Galactic Research Station
In the Sol System, you can locate the Nova Galactic Research Station on Earth’s lunar moon, Luna. Upon arrival, head in a northeast direction to reach the station.

Investigate the Research Station
To enter, you must use the Airlock door, which can only be opened with the Moon Base Key. The door is protruding from a tunnel on the right side of the station.
As soon as you enter, go to the computer station with the objective marker. When you interact with it, you’ll discover two papers; the one you’re looking for is the Project Prism Launch. This will alter your objective and direct you to play the recording on the building’s roof.
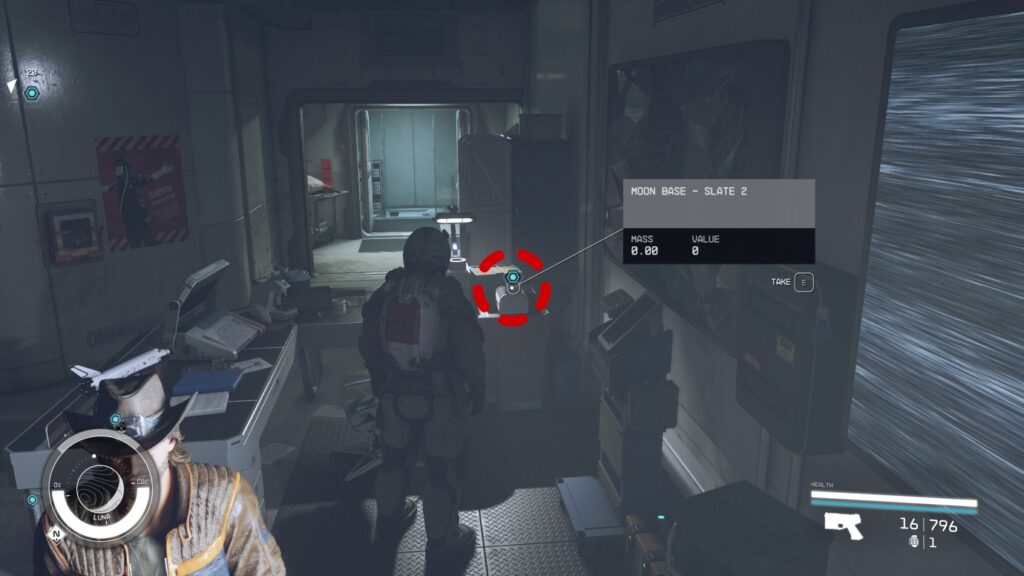
Moon Base Slate 02
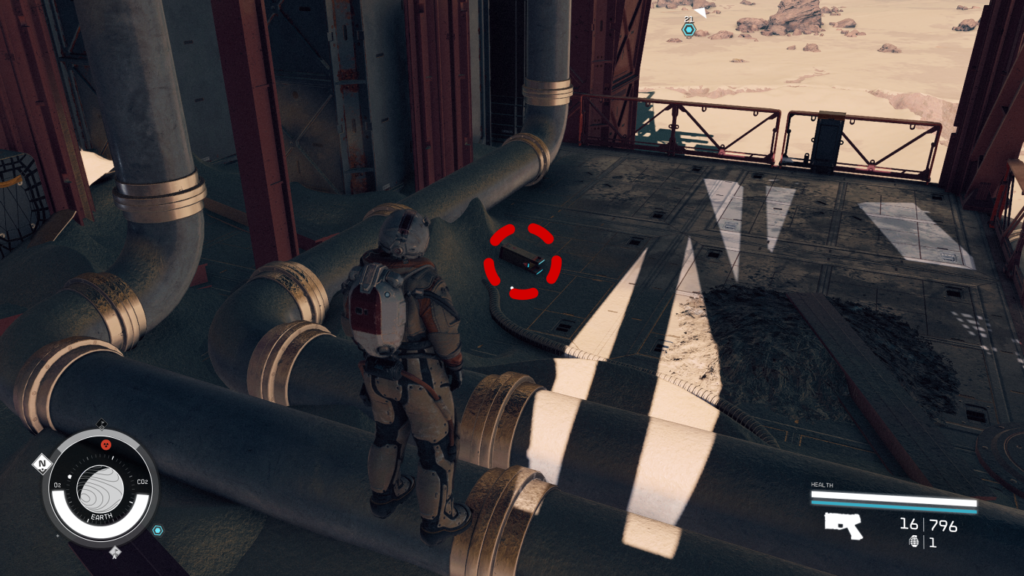
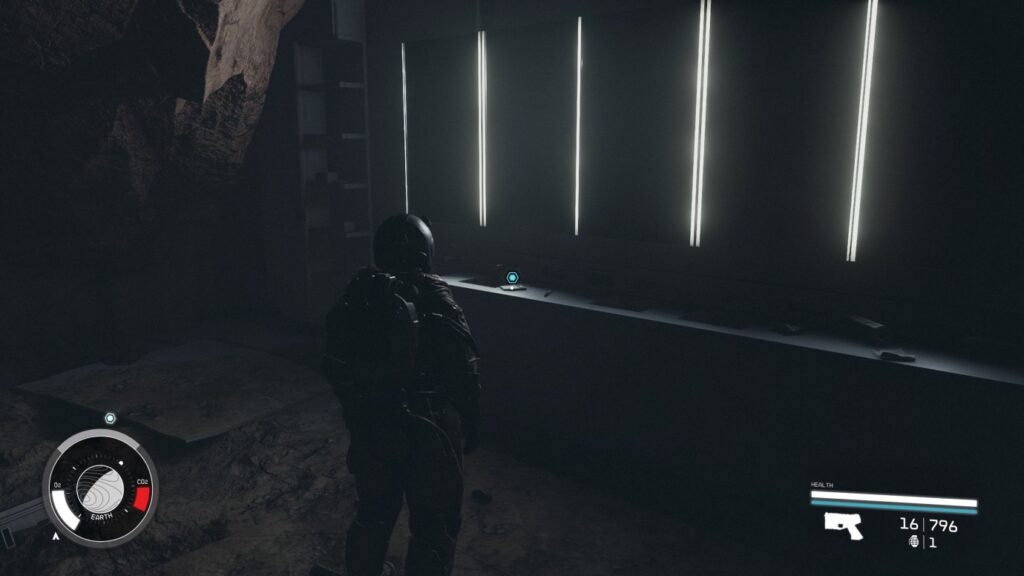
A Moon Base Slate may be found in the far right corner of the desk across from the one you just interacted with if you turn around and look at it.
Keep reading to find out the locations of all the remaining slates. If you prefer to skip the optional objective, you can simply scroll down to “Play the Recording on the Roof.”
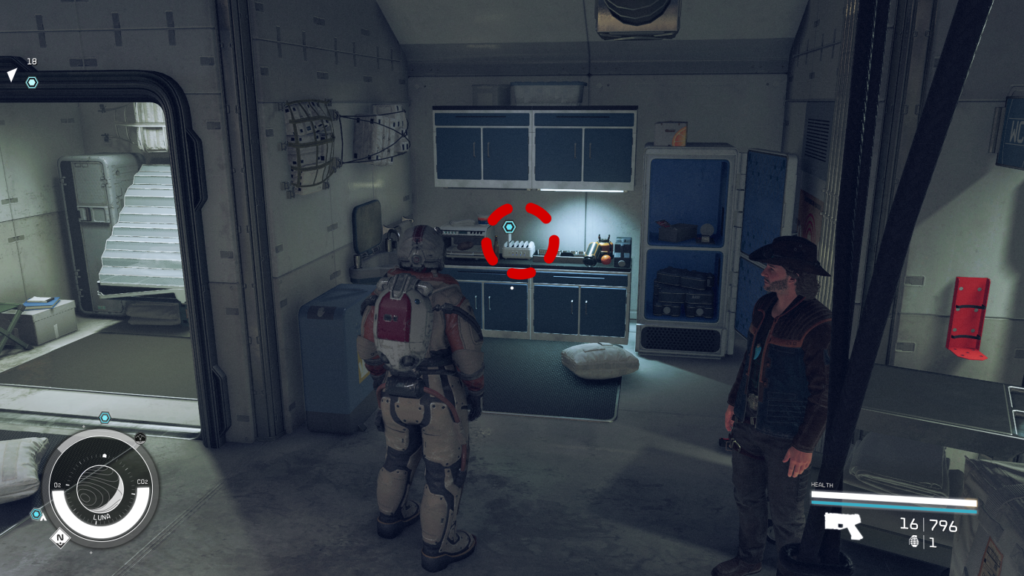
Proceed beyond the computers and enter the following room by moving in a northern direction. Once you take a left turn, scan the Galley area. You’ll find a Moon Base Slate in the process of drying on the rack.
Moon Base Slate 05
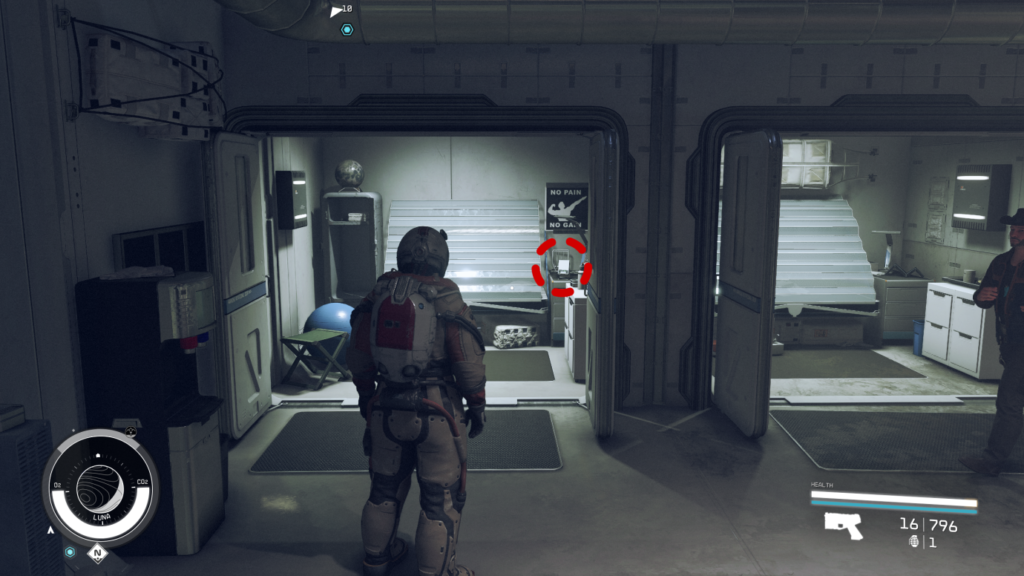
Continue travelling east until you reach the final room, which is on your right and is next to the weights and punching bag. A Moon Base Slate may be found in this chamber to the right of the “No Pain, No Gain” sign.
Moon Base Slate 04
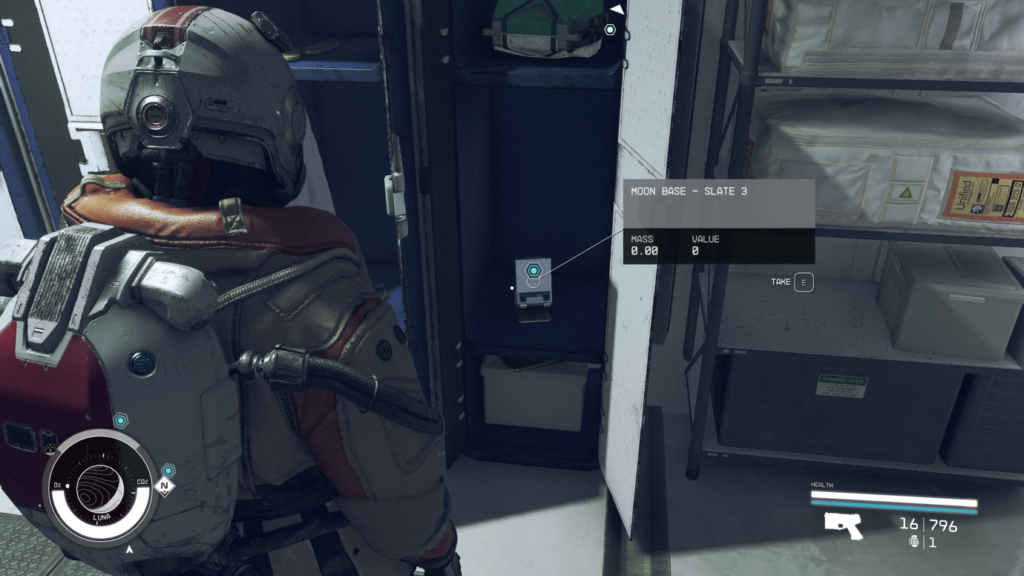
Open the blue door in the east after returning to the first room. As soon as you pass through, turn to your right and proceed toward the lockers. Moon Base Slate 03 is located in the very first locker.
Moon Base Slate 03
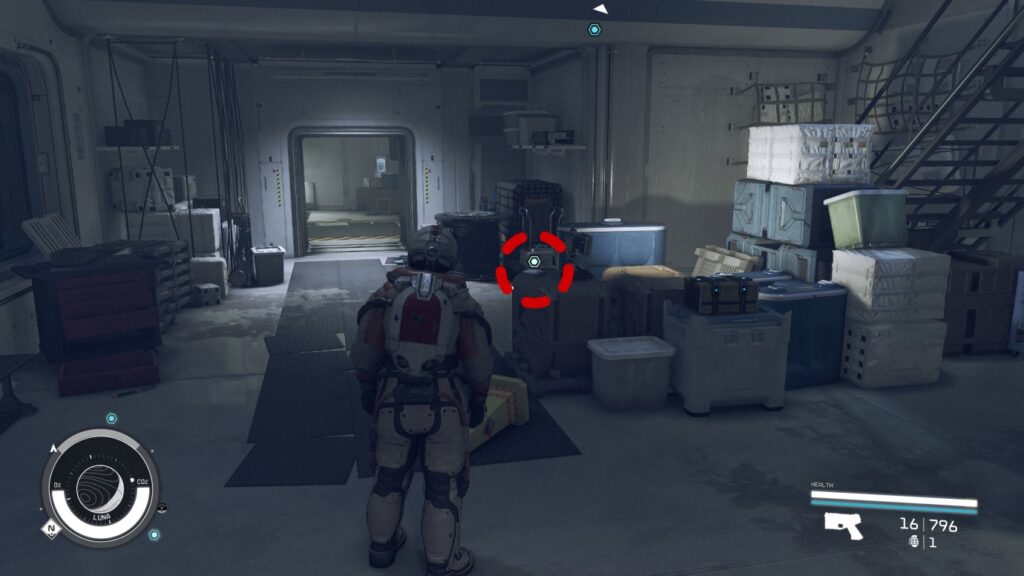
You will soon come across another Moon Base Slate if you continue to the north. It is on top of the box, and to its right is a storage crate.
Moon Base Slate 01
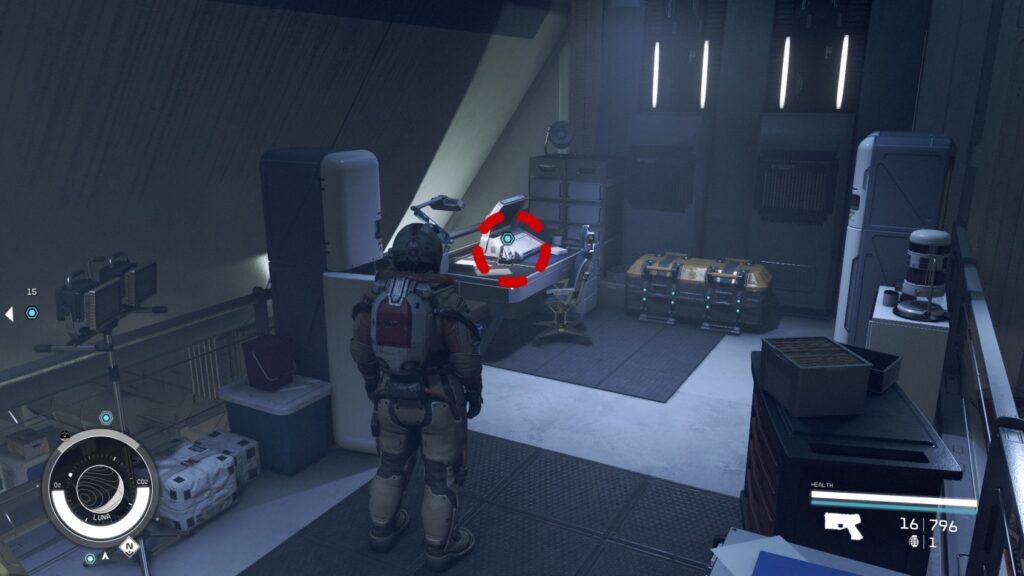
After the boxes, turn north and ascend the stairs. To enter a different room, open this blue door. At the conclusion, to the right of the computer, there is a Storage Crate and a Science Crate that can both be opened at the Master Level. Another Moon Base Slate is located on the desk to the left of the computer.
Moon Base Slate 06
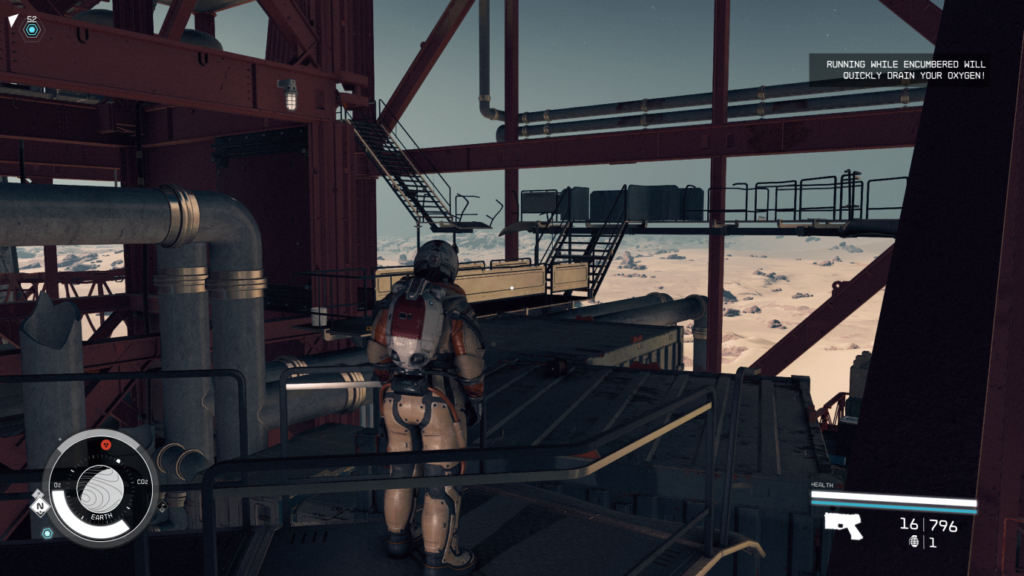
Return outside and climb to the roof to play the recording once you have collected all of the Moon Base Slates.
Play the recording on the roof
You’ll be directed to NASA after the recording has finished playing, so get back in your ship. then scan the planet for the NASA Launch Tower.
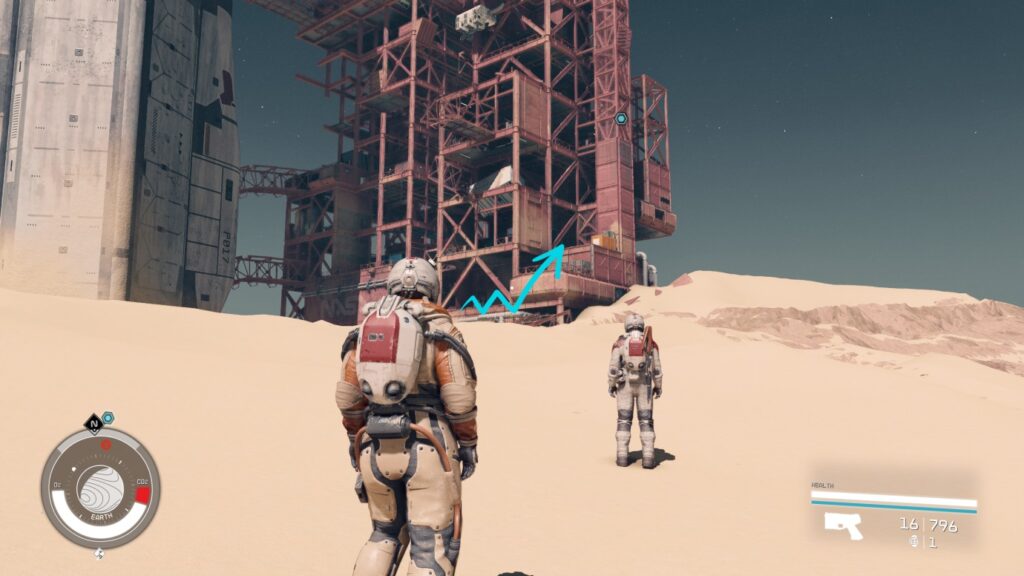
Visit NASA
When you touch down on Earth, move toward the NASA Launch Tower in the northeast.
Locate a Path Inside
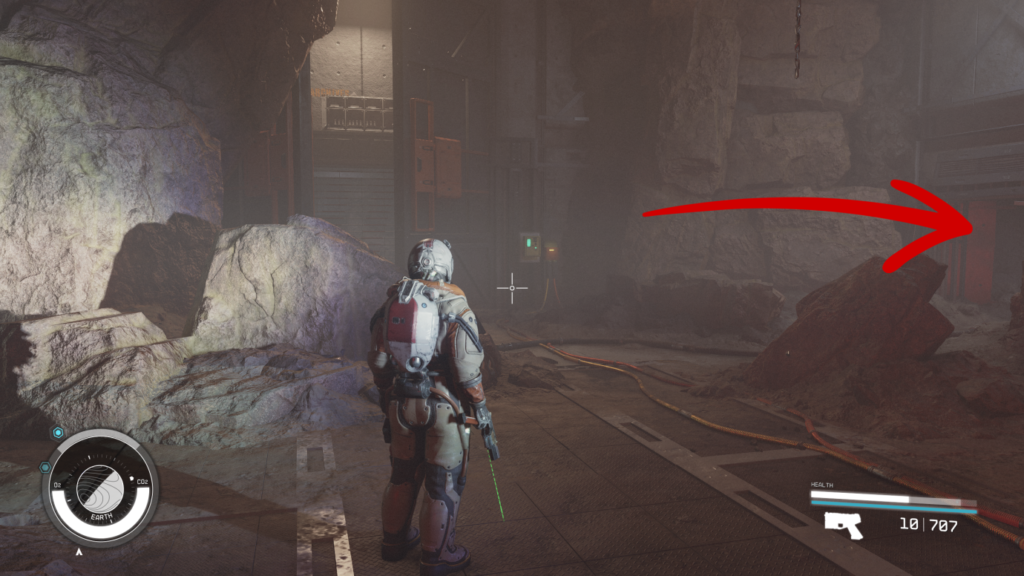
Head to the left side of the NASA Launch Tower as you get closer. To advance to the next level, find a door that requires power to be opened, and climb up there. To make it clear where to climb, we’ve marked it in the picture above.
Take a glance to the right and past the pipes when you reach the following level. One of the power cells is visible among the debris. Open the door and the crates inside using this.
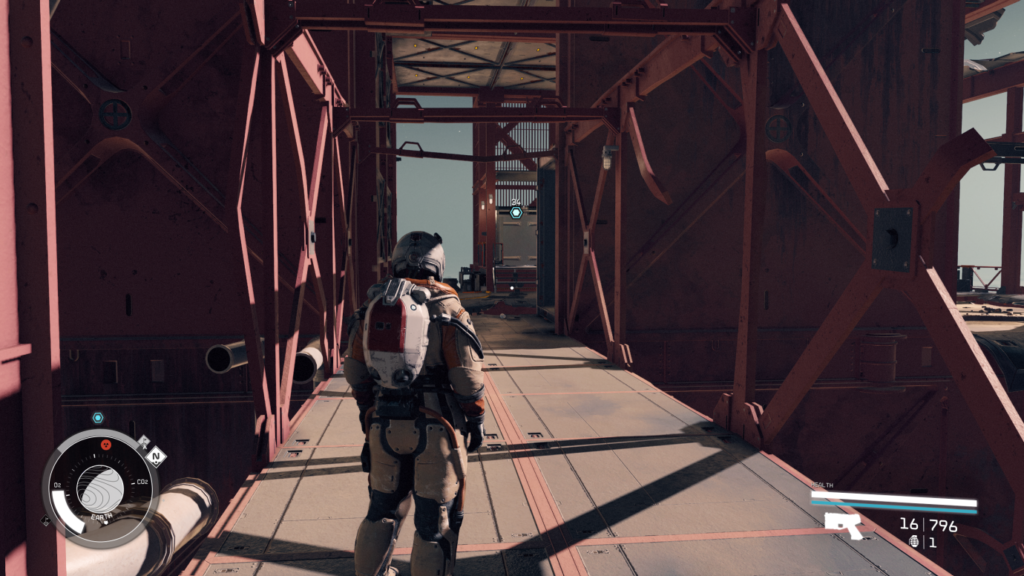
Climb back up and proceed straight over the walkway, along the tower’s north side. Cross the crates to the next section of the platform after climbing the stairs on the right.
There are broken steps leading up to the left. Follow the platform around to the left after jumping to these stairs. You’ll come to another gap that requires a jump.
Once you reach the top of these steps, enter through the door. You’ll notice a sizable hole in the floor when you enter the following chamber. Before the hole, turn left and enter the door from the other side.
You’ll be asked to locate a power source to assist an elevator that you can see off in the distance. Look to the left as you approach the door and follow the yellow tube to a door that needs a NASA Access Code to unlock. When you open it, you’ll see boxes inside, along with Emergency Power Cells on the right. To start the elevator, insert one of these into the wall. To start the elevator, move over to it and hit the blue button.
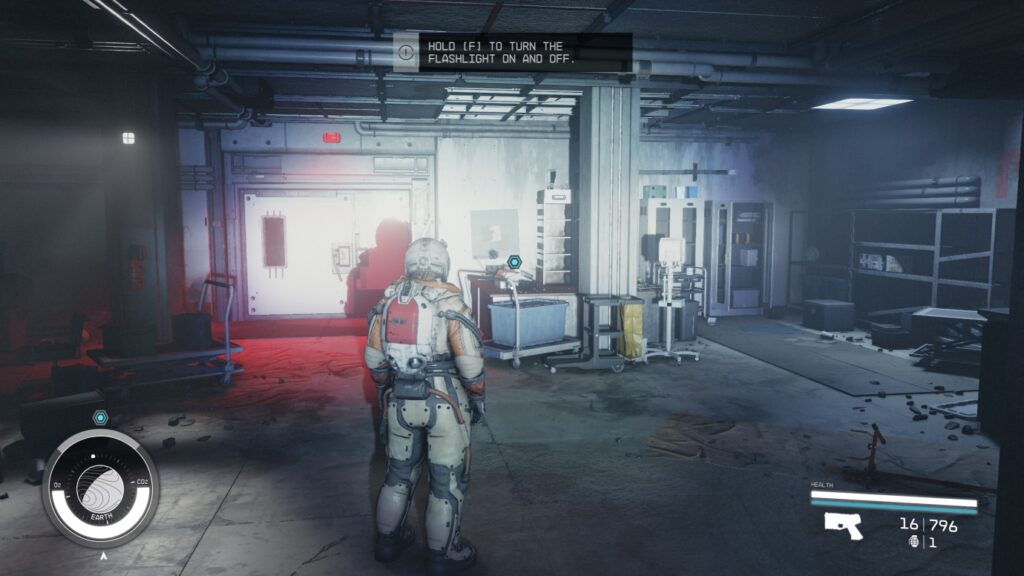
Enter NASA
Once inside NASA, proceed to the computer on the desk to the north by following the target marker.
Find Information About NASA
Select Delivery From Mars after opening the computer, looking at the Access Station Log first.
Find information about the Martian Sample
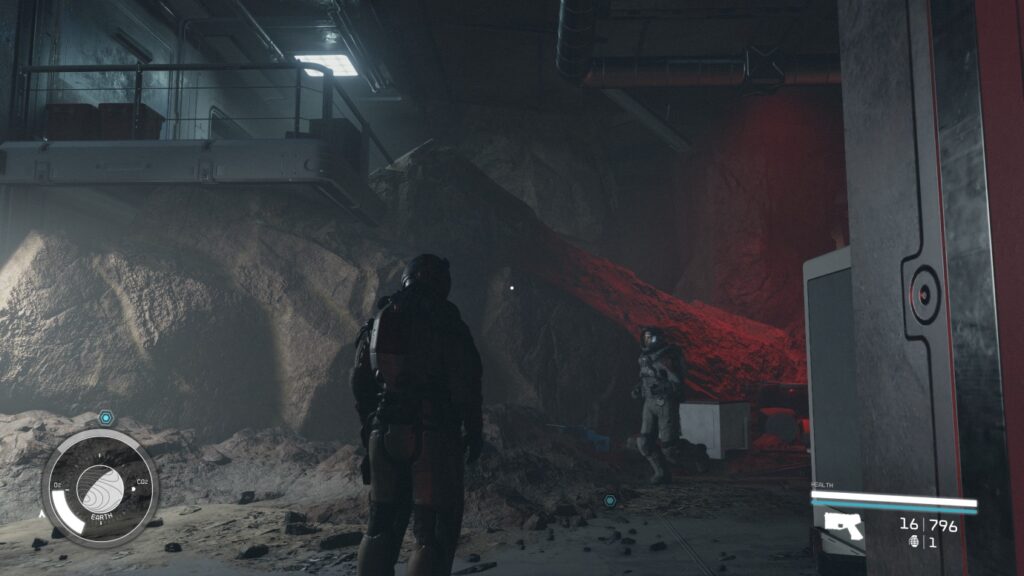
Enter the red-illuminated door in the north, and then descend into the cave below. Enter the area with information on NASA and the history of space flight by following the way through the rubble-covered entrance.
The red-lit entrance in the north is where you should go. Look to your right as you enter this door to find a recording you can pick up.
Personal Recording by Judith
Look up details about the Prototype Grav Drive
Enter the eastern cave more deeply. Follow the hallway until you reach the door with the word “Lab” on it on the right. Enter by opening this up. In front of you, there will be a hill that ascends to the left. Find the next door you need to enter by moving up here.
Continue along the hallway until you reach a doorway with three openings. You must enter through the door on the left that is labelled Secure Access, but you cannot do so without power. Enter the second door on the right (the first is locked and needs an Expert Level to release it) to obtain a power cell.
A Power Switch and a container are located inside. After flipping the switch to open the door, pass through it. Continue exploring the cave until you reach a room with steps leading to a Secured Access door and a section that is fenced off on the top level.
Get to the Secured Access door by descending. Turn left when you get to the bottom of the stairs to discover Power Cells. To place the Power Cell in its slot, take one and head to the north side of the room.
Go through the Emergency Access door once more. You’ll reach a room with cases that you can plunder that are flashing red. After that, ascend the left-hand set of stairs and enter the back room. Then, get ready to enter the large metal door on the right by following this.
Before entering, be warned that the space is filled with turrets and robots, so proceed cautiously. Before attacking the room, you can lure the robots out to deal with them; after that, you should eliminate all of the turrets.
To reach the door that needs to be powered up, you should move west. To achieve this, though, approach the door to the right of it and proceed through it until you reach the power switch and computer terminals. After turning it on, go back to the door and raise the shutters.
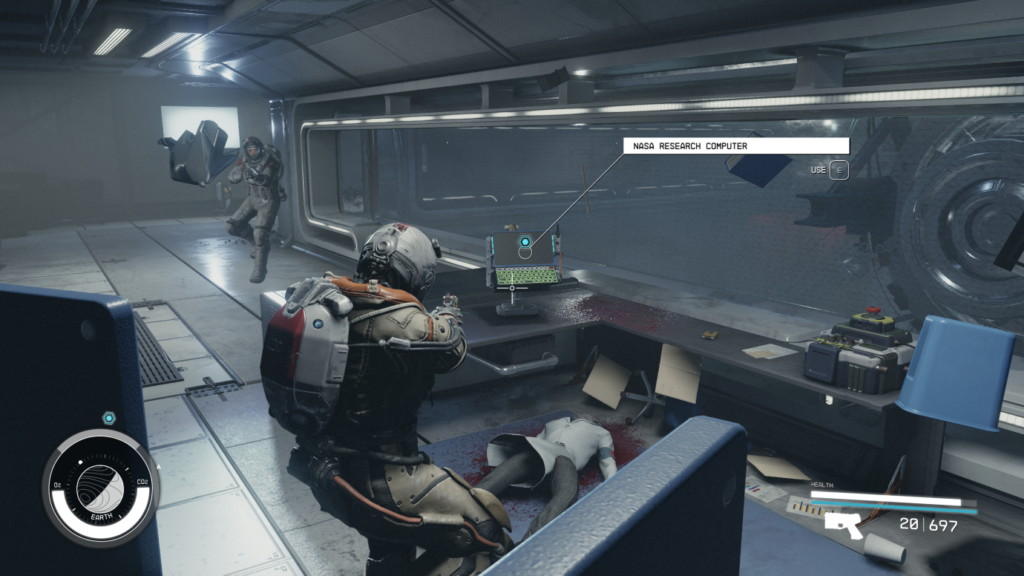
Go deeper down the cave until you find the following computer. This is in the building’s office down on the platform. Read the files on the computer by opening it.
Find Out More About The Effects Of Grav Drive
From here, enter through the door located immediately south of the computer. The door beyond that will take you into a stairwell where there is no gravity.
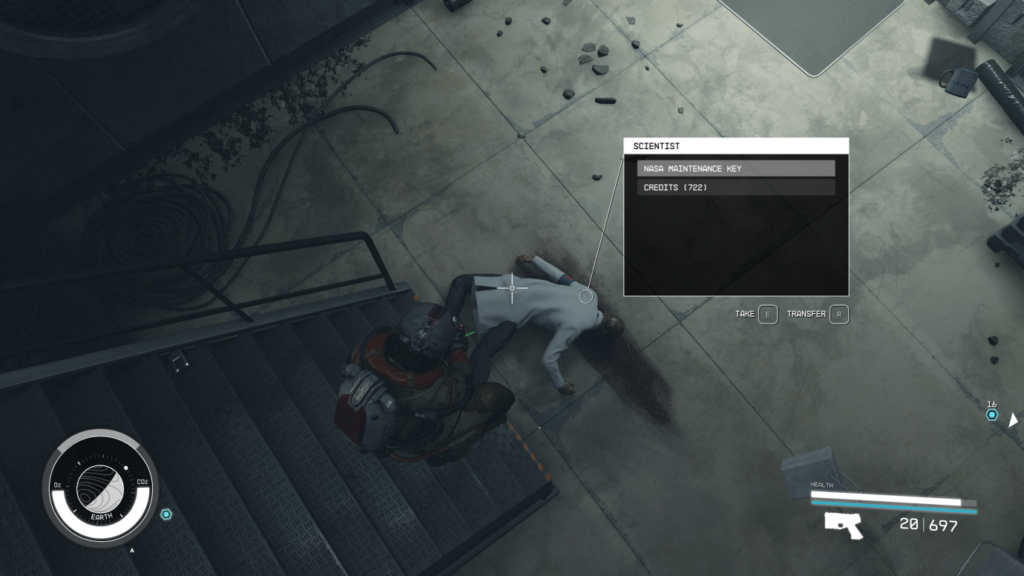
Find the body by floating to the ground floor. After stealing the NASA Maintenance Key from it, float back up to the second floor, enter, and turn to the right to reach the last computer.
Release the Artifact
After reading the files, release the artefact by pressing the red button next to the computer.
Take the Artifact
Return to the stairwell and descend to the ground level. To access the room containing the Artifact, open the door and turn right.
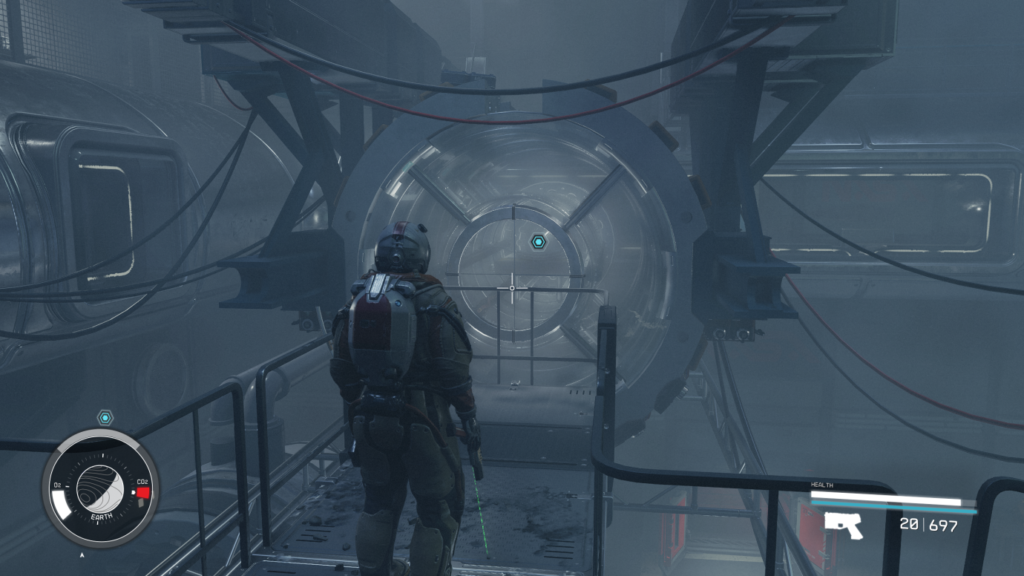
Artifact Psi
The Starborn will attack you as soon as you take up the artefact. You can either battle every one of them or retreat through the facility. As you depart the facility, they will appear along the entire route, so if you plan to launch a full-scale attack, be careful with your ammunition.
Exit NASA
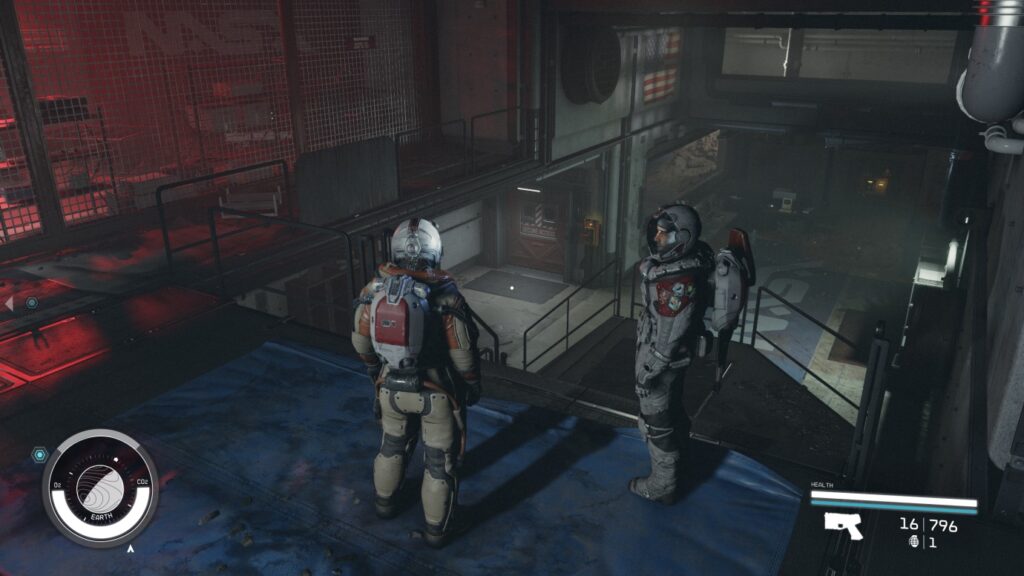
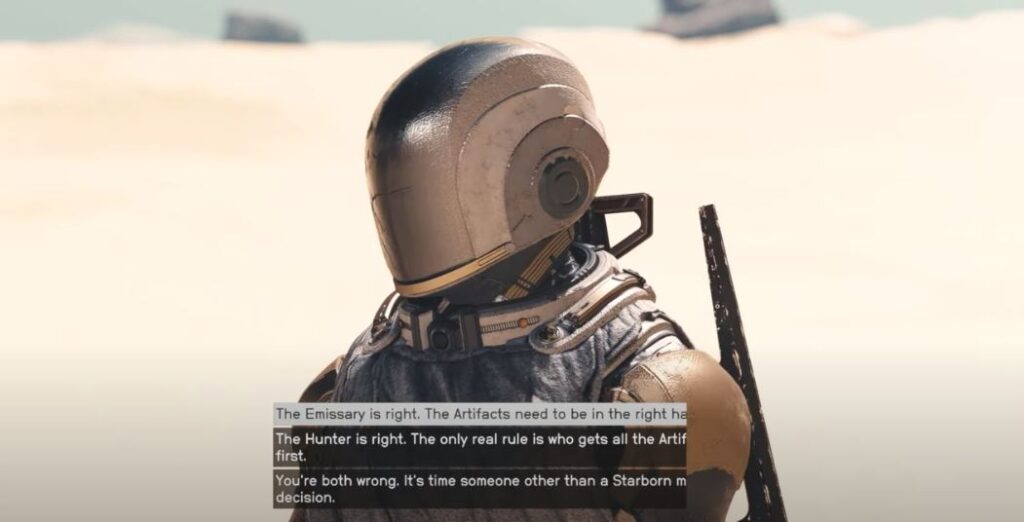
You’ll receive a prompt to talk with The Emissary as soon as you leave the NASA Launch Tower. They are to the east of the tower’s base, together with The Hunter.
Consult the Emissary
Three options regarding the Artifacts are presented to you when you speak with The Emissary after this quest. One can:
Choose The Hunter’s position that whoever has the Artifacts first will have power, concluding that The Emissary is correct and that they should be preserved and kept in safe hands
Results of Your Decisions
The fight you encounter at the game’s conclusion will depend on the decision you make throughout Unearthed. You will join forces against The Hunter if you support The Emissary. To defeat The Emissary, you must join forces with The Hunter. The more difficult battle awaits you if you opt to support neither of them and take on both of them.
Finish “Final Glimpses”
Even though you will have completed all of the main goals for Unearthed, you still need to accomplish Final Glimpses to complete the quest.