
Sam is in charge of an expedition and he wants assistance. He may have a lead on another item that is located close to Akila City. Of course, the adventure quickly turns out to be everything from ordinary. This article will guide you through the mission “The Empty Nest” in starfiled.
Speak With Sam
As the mission starts, go to the Lodge and speaking with Sam Coe. He will be in a room to the left of the artifacts. Sam will tell that he may have information on another item that is located in Akila City.
Travel to Akila City
Board your ship and go to Cheyenne. Players will be screened for illegal items as soon as they access the Cheyenne system. Open up the scanner and land at Akila City if everything looks good. Get off the ship and talk to Sam. He provides more information regarding the Artifact’s potential location.

After conversing with Sam, follow blue waypoint leading to the GalBank Vault. As you progress, a security officer will intercept players and caution against approaching the GalBank due to an ongoing crisis. Presently, the bank is under a robbery situation, with the perpetrator demanding to speak with someone not affiliated with the city or the guards, as hostages are being held.
Negotiate with the Leader of the Bank Robbers
When Sam stands up for the player, Daniel, who is initially reluctant to speak to a stranger, begins to change his attitude. After you’ve finished talking with Daniel, circumvent the barricade and head toward the bank’s entrance. To speak with the bank robbers’ leader, approach the terminal to the left of the door.

Players will have the chance to convince the leader, but if that tactic doesn’t work, they can inquire about their requests. Once they are aware of the requests, participants will have another chance to convince the leader if they were unsuccessful the first time. The only choice at this point is to go back to Daniel and explain the issue if the second effort fails. Players will be forced to confront the bank thieves inside if they are unable to convince them to disperse.
Direct Approach or Sneak-In
Players can now try to enter from the front or enter covertly from the back. The bank robbers’ leader will consent to let players see the hostages if they enter without weapons if they speak to him again. While the leader is still armed, it is feasible to convince him to look at the hostages. The complexity of this will depend on the rank of Persuasion players. In the event that this doesn’t work, players will need to sneak around the back and utilize the key to outsmart the bank robbers.

Look for the Map
Search the three locations indicated by the blue waypoints in the basement. There will be an hourglass and a note for Sam in one of the lockers. Sam can provide you with more information regarding the map thief. Sam is reticent to speak much, but if players are successful in persuasion, he will disclose more about who Jacob is.

Regardless of the decision, leave the bank and proceed to the Coe Estate by following the waypoint. Enter the room to hear Sam and his father, Jacob, argue in person. Talk to Sam first, then to Jacob after that.

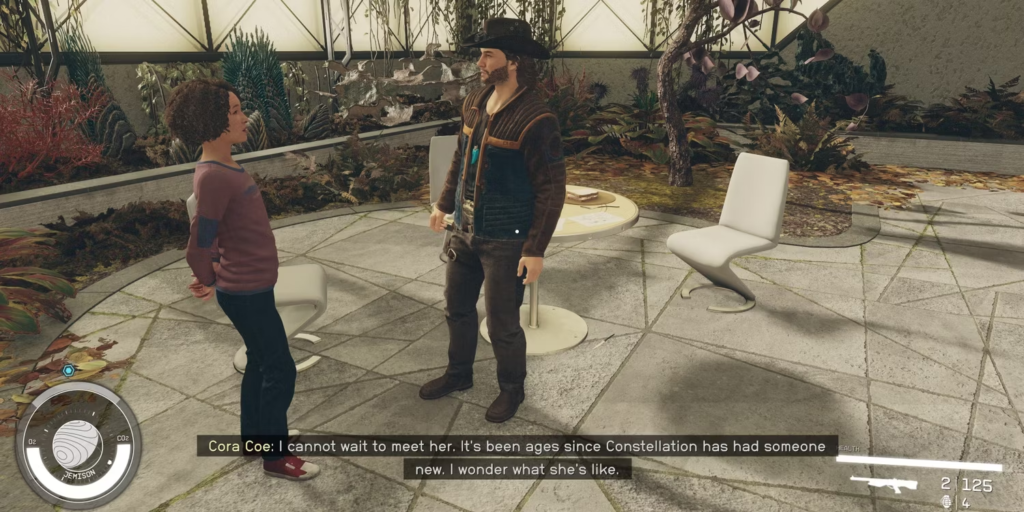
Players can obtain the map from Jacob in one of three ways. To start, enlist Cora’s assistance. The alternative is to have Sam divert Jacob’s attention while he looks for the map. The third choice is to speak with Jacob and make an effort to convince him. Sam would rather keep his daughter out of it, but if none of the other solutions work, he’ll give it a shot.
Go to the Empty Nest
Naturally, as Sam studies the map, a new issue arises. The artifact is located in the heart of the region controlled by the gang that committed the bank robbery. The gang would not be pleased with the players’ presence if they had to kill the bank thieves.
When prepared, quickly teleport to the Empty Nest. There is a sizable gathering of adversaries in this region, so be prepared to engage in combat. Once they are all gone, search for a cave entrance via a door. Make sure you are healed up before entering the cave because there are more foes there.
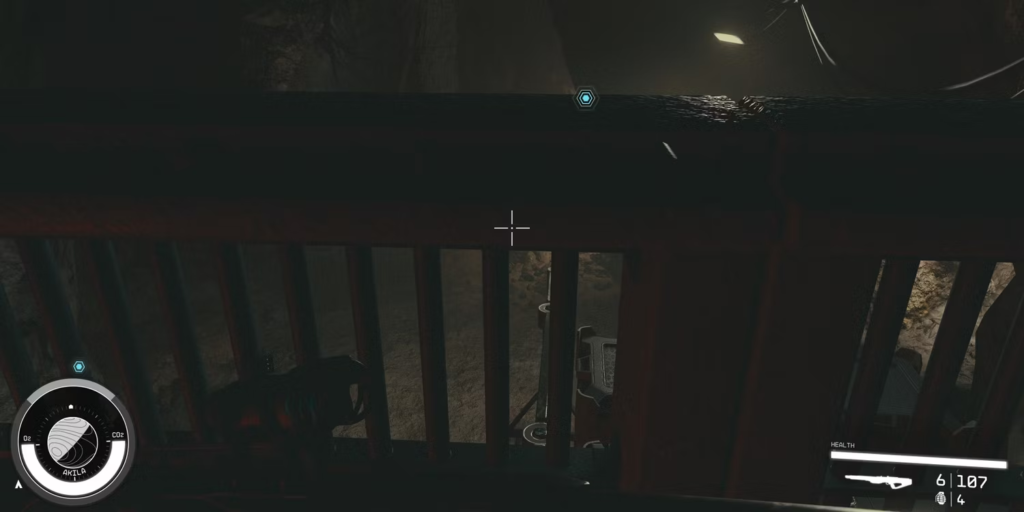
There is a locked door with an advanced lock halfway through the cave. Since it is just a gate, if players are unable to open it, they can easily climb the boxes and cross the door. Make sure to bring the cutter because there are other locations beyond this gate where players can mine resources. Till you reach a dead end where the relic is, keep descending the cave. Leave the Empty Nest after grabbing the object.
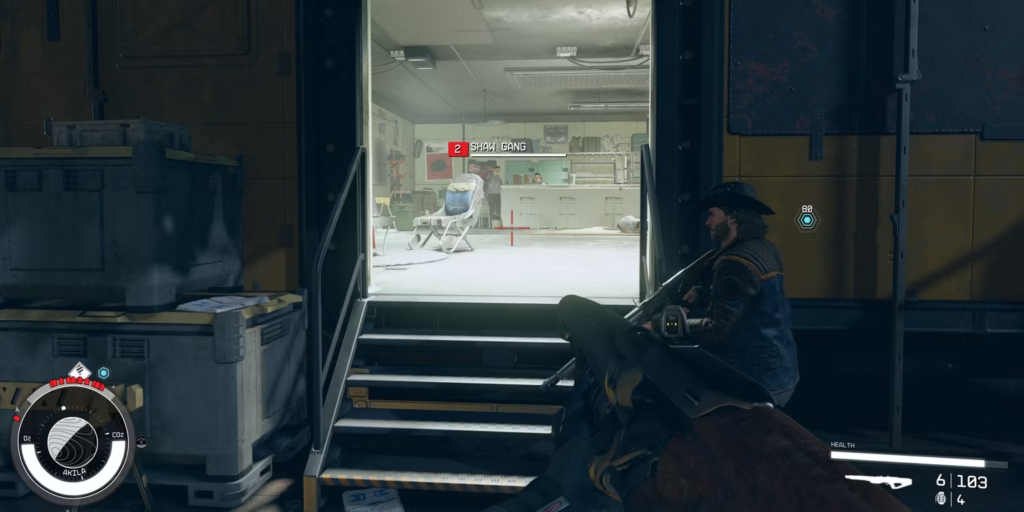
Meet Shaw
After leaving the bunker, the Starfield players are met with one more challenge. Shaw, the gang’s leader, is upset at the loss of a number of members and the hiding place. You can either fight her, try to convince her, or give her 4,000 credits. No matter what option the players pick, a pack of Ashta will approach. Players can choose to kill them or run away from them. To finish this major objective, return to the Lodge and place the relic there together with the others.
