
A detailed walkthrough for Revelation, the main story’s eighteenth task, can be found in this section of the Starfield Walkthrough. You’ve reached the end of your adventure, so now is the time to visit the Buried Temple and see how your decisions pan out.
Guide to the Revelation
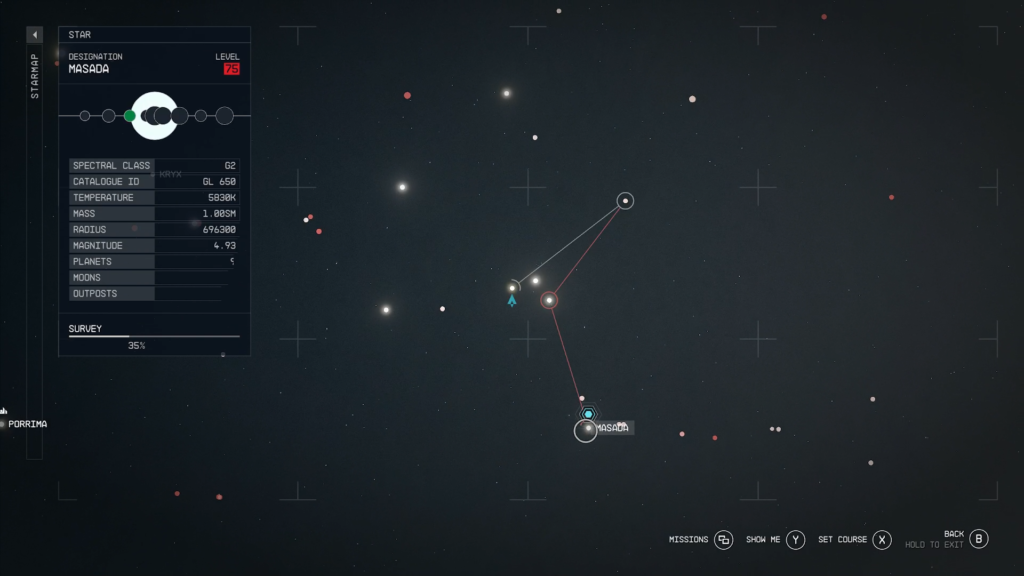
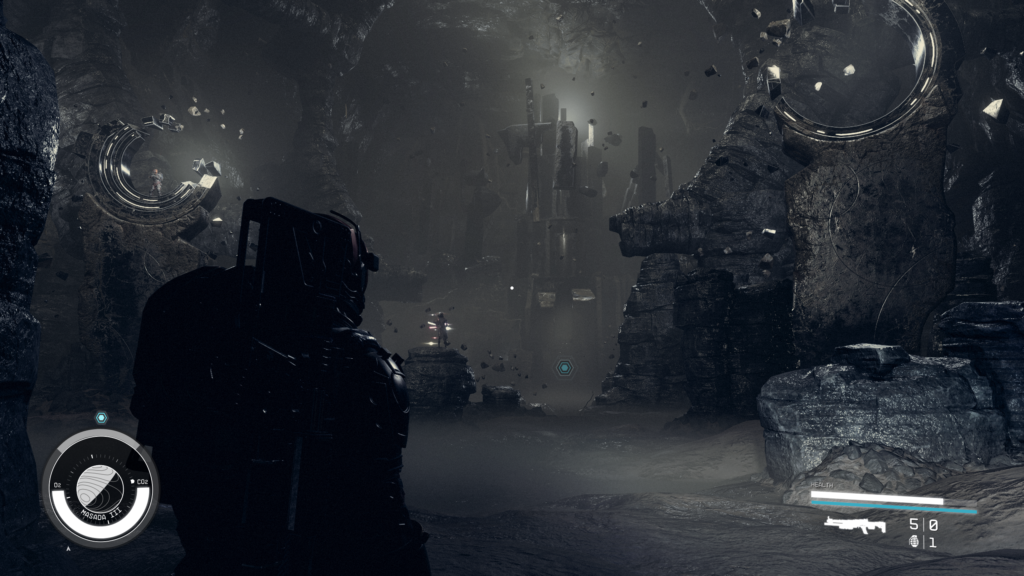
You are dispatched to Massada III at the beginning of Revelation. The results of your decisions in Unearthed will be clear when you get at Massada III.
Go to Massada III
Hail the Scorpius/Helix
The people you meet at Massada III will depend on the choice you make at the end of Unearthed.
Upon your decision to back The Emissary, you’ll be welcomed by The Hunter at this juncture. Conversely, if you choose to support The Hunter, The Emissary will be present. In the event you decide not to support either faction, both The Emissary and The Hunter will be there. This leads to a challenging space battle, particularly demanding if you’ve opted for neutrality. If, however, you’ve taken a side, you’ll have the advantage of receiving support from the opposing faction during the battle.
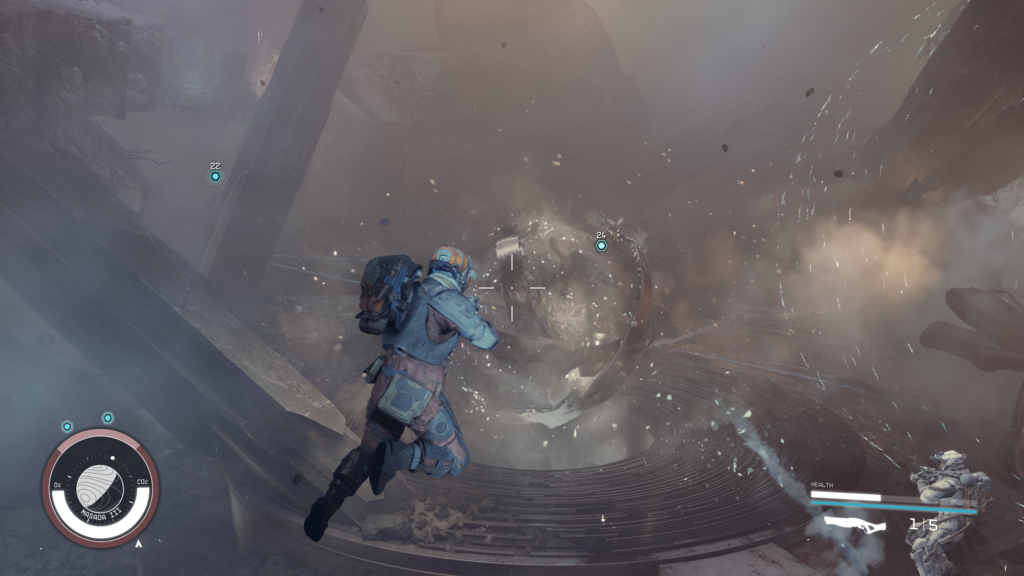
Take the Starborn Ships down
Check your engine numbers and skill level before engaging in this combat. You will be able to avoid the Starborn’s ships’ potent beams if your engine is highly manoeuvrable, which will be extremely helpful in this battle.
Additionally, you’ll need a strong engine that will enable you to spin swiftly and boost yourself away from these strikes. Next, concentrate on building a strong shield. If it becomes dangerously weak during a battle, step back and allow it to regenerate.
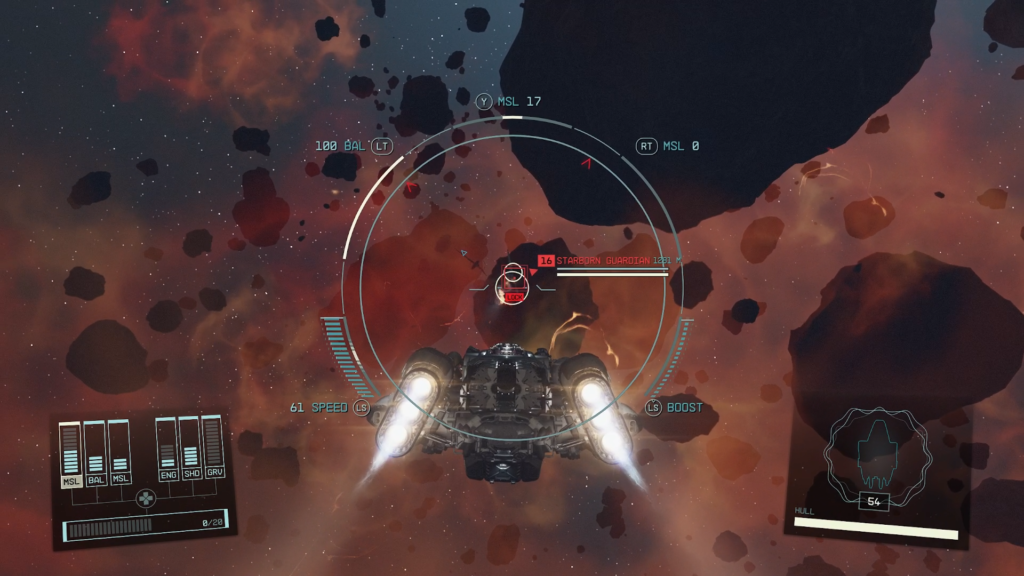
Get those bothersome sidekicks out of the way before you assault, and concentrate on the Starborn ships. The large ship or ships will then come into focus for you. As usual, use laser weapons to destroy their shields before switching to ballistics and miles to damage their ship.
Land at the Buried Temple
Whenever you defeat your opponent, they will vanish after causing enough damage to the ship(s), and you must meet them at the Buried Temple on Massada III.
A friend from the battle who is accompanying you into the Buried Temple will first meet you. In this conversation, they’ll be able to provide you some guidance on how to deal with the challenges that lie ahead.
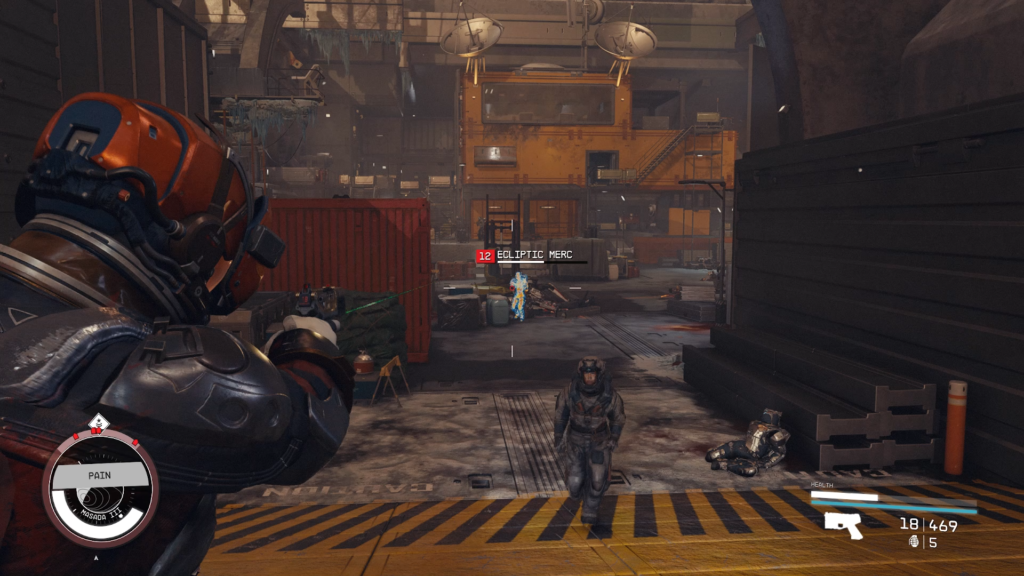
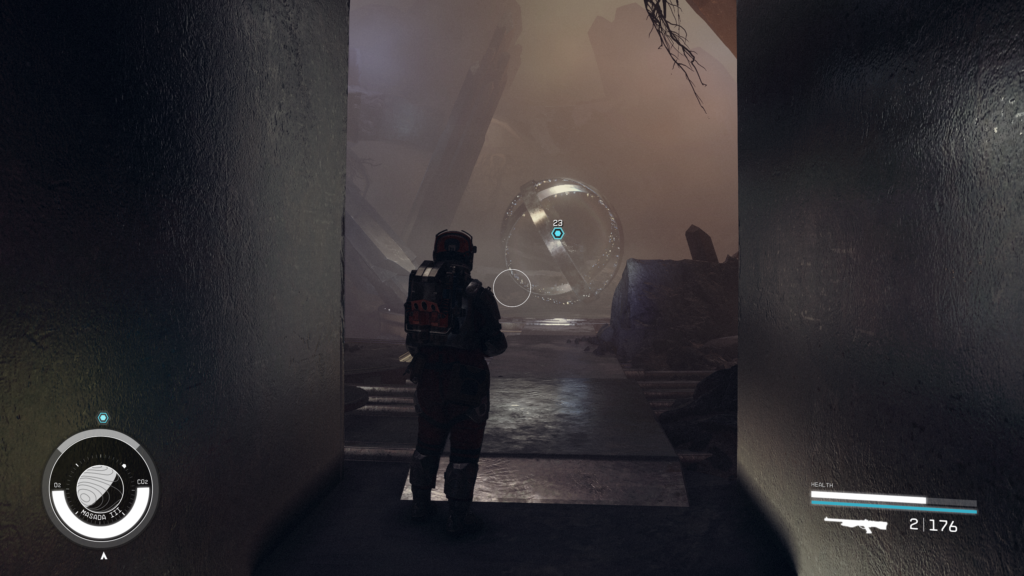
Follow the trail of dispersed Ecliptic bodies as you head east to enter the Buried Temple. Search for their loot as you pass by to restock on ammunition and other helpful stuff. Starborn will greet you as soon as you reach the area of the entryway that is more open.
Take down the Starborn
If you have an ally with you, they will manifest around you as a warning to keep an eye out for the Starborn. You’ll have to battle Guardian Musa in this area.
How to Beat Guardian Musa
Because Guardian Musa has the power to duplicate themselves, you’ll need to target your strikes not only on Guardian Musa but also on all of their clones.

A near-constant stream of grenades will also be launched at you during this battle. You should keep moving to avoid this. You don’t want any of the combustible canisters that are all throughout the place to explode on you and hurt you. They can be used against the Starborn by drawing them in as they attempt to teleport and dash at you to attack if you keep moving.
To increase your chances of avoiding the throwables, put some space between you and the Starborn and attempt to utilize a long-range weapon if you can. You might occasionally need to sprint up and down the building to eliminate all of the Guardian Musa copies. You’ll acquire Quantum Essence once you’ve defeated Guardian Musa.

Find the Artifact
Continue southwest down the walkway, where you will see another trail of Ecliptic bodies. Go into the tunnel to the southeast once you arrive at the large blue door with the yellow knobs.
Follow the trail until it turns south and leads you into the structure. You will enter the Buried Temple from here.
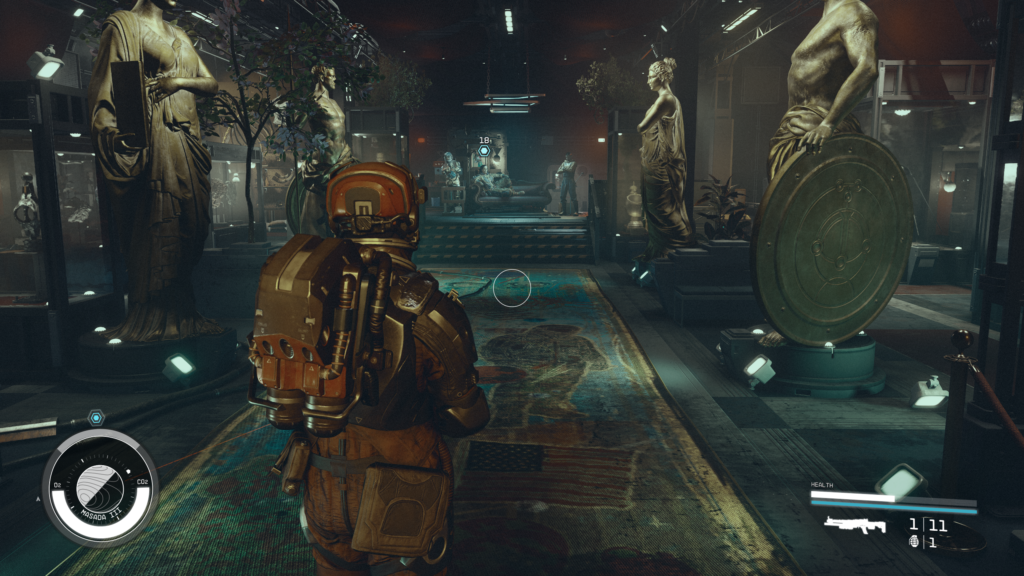
The Ecliptic soldiers’ bodies will start to come to life one by one as you enter the Buried Temple. These will begin to attack, but it won’t immediately be evident from whence they are coming. After eliminating a few, the Guardian Athaliah will probably show up.
Defeating Guardian Athaliah
The Ecliptic soldiers strike because Guardian Athaliah can reanimate their dead bodies and make them fight for them. You should concentrate your attacks on Guardian Athaliah while continuing to eliminate any new Ecliptic soldiers that come.
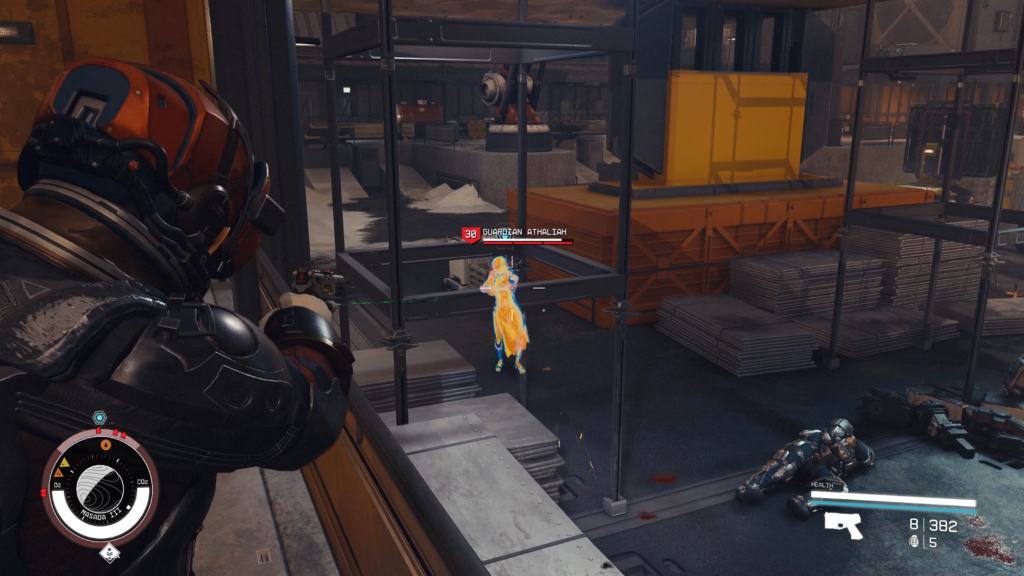
By doing this, you can continue attacking Guardian Athaliah without becoming sidetracked by the ecliptic. They will warp to different locations in the room and begin to resurrect more bodies once you have managed to breach Guardian Athaliah’s shield and hurt their health. To continue thinning out the zombie mercenaries and offer Guardian Athaliah little breathing room, stay as close to them as you can.
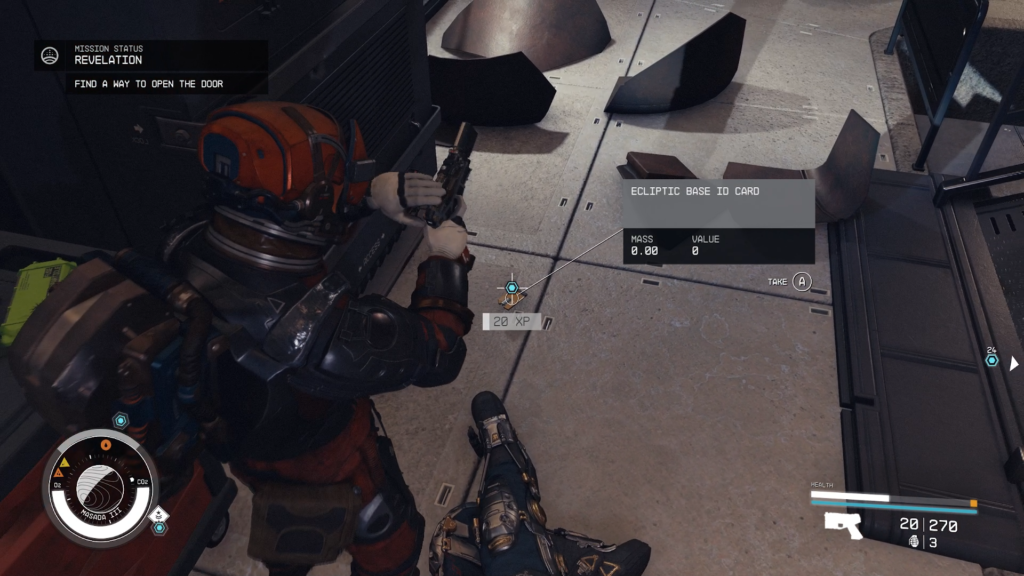
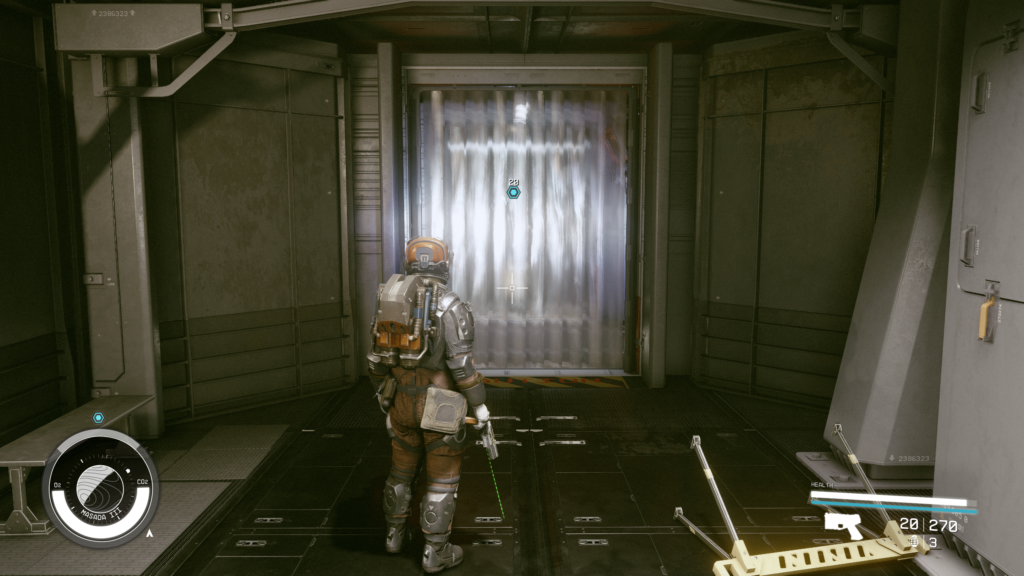
Find a method to unlock the door
You won’t be able to enter the door unless you have beaten Guardian Athaliah and obtained the Ecliptic Base ID Card. The card must then be used on the terminal located adjacent to the Secure Access entrance in the northwest. You will enter the Ecliptic Base after doing this.
Before entering this door, ascend the tower in the center of the space and enter via the white door. An Ecliptic Base ID card is actually located on top of the safe, which is located on the south side of the chamber. You’ll need Expert Lockpicking to open the Safe.
Find the Artifact
towards the Ecliptic Base, head northwest, then proceed along the walkway on the left towards the direction of the body. To descend to the objective marker, use the stairs on the left. The plastic partition and an Anomaly are waiting for you as you reach the foot of the steps.
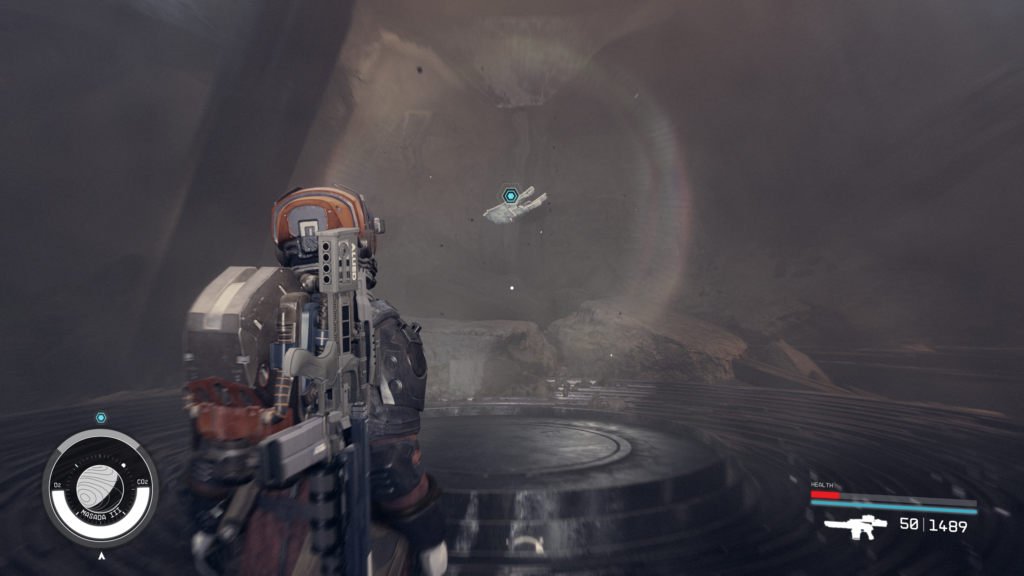
Arrive at the Anomaly
You must climb a hill to the cave where you obtained your first artifact by going in the direction of the anomaly and entering it to be transported to a distortion where Lin and Heller are present.
Leave the Anomaly
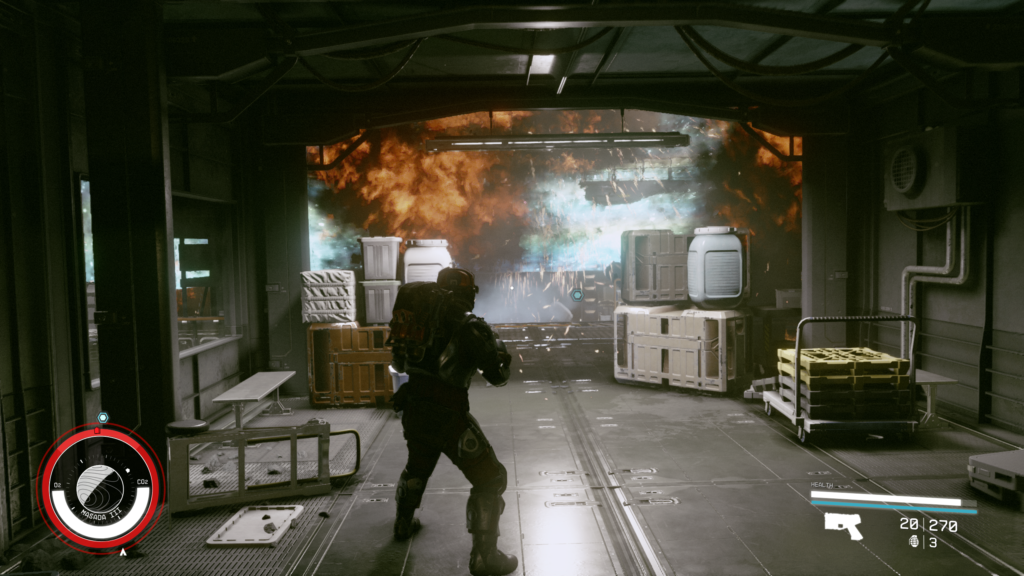
Step through the distortion to leave the Anomaly after you reach the cave. Objects will be dragged together and explode as you move on to the next chamber, revealing more Starborn who are attempting to stop you. Teutra and Rinn are the names of these two Guardians.
Take down the Starborn
In this room, you’ll also have to deal with Turrets and Robots. If you can access the area housing the computer that directs the robots and turrets, you can disarm the defenses.
How to Beat Guardian Rinn and Guardian Teutra
Both of these will employ throwables to drain your life, although the Guardian Teutra appears to do it far more frequently than the Guardian Rinn. Attacks should prioritize Guardian Teutra first, according to us. To prevent being hit with the throwable and having your life drained, be on the lookout for when they bring their arm back.
It’s time to concentrate on Guardian Rinn after you’ve defeated Guardian Teutra. The Turrets and Robots you’ll also have to battle if you can’t disable them are really the major issue in this encounter. However, once you’ve defeated both Guardians, you’ll receive the key needed to be able to disarm them if any are still lurking about.
Find a method to unlock the door
Take the northwest door on the second floor. The Ecliptic Base Key is required to open the yellow door because it is.
Arrive at the Anomaly
You’ll rejoin Petrov on the Scow if you take the path that descends into the next Anomaly.
Find a Way Out of the Anomaly
You must speak with Petrov in order to depart the Anomaly. You’ll need to kill Petrov to obtain his Private Quarters Key, which will result in a struggle.
Leave the Anomaly
You can exit the Anomaly and return to the Buried Temple by using this to unlock the door to the right behind Petrov. After passing through the cave, head for the lift, and then use it to descend into the cavern.
You will then enter a different anomaly where you can interact with or confront Vladimir. When you’re ready to leave the Anomaly, all you have to do is turn around and take the distortion.
Take down the Starborn
You’ll enter a large, open cavern where Guardian Fionn and his copies will show up. We advise concentrating solely on Guardian Fionn since if you can eliminate him, you’ll eliminate all the duplicates. Fionn will occasionally vanish and then suddenly resurface near to you, lunging and stabbing you. In these situations, use close-range weaponry to deal substantial damage.
After completing this area, enter the temple by going to the back of the cavern.
Take the Artifacts
There are two possible outcomes for the battle for the artifacts.
One can: The Hunter/Emissary must be convinced to hand over the artifacts. Thus, there won’t be a conflict, and the hunt for the artifacts will come to a peaceful conclusion.
Combat is an option. The combat will finally take place in zero gravity inside the Temple, and it will start there right away. The battle will then continue throughout other locations you’ve visited throughout the game until culminating in NASA after you are transported across alternate dimensions.
You’ll be able to take all of their artifacts after this battle, or if you’ve been able to convince them.
Take the Artifact
To finish the collection for the Armillary, approach the artifact and take the final one.
Artifact Mau
It’s time to return your spacecraft and visit Unity now that you have the last Artifact in your possession.