
Entangled is undoubtedly the most horror-themed of all the Main Quests in Starfield. It will undoubtedly give you the chills to explore the ruined lab in a parallel world full of creepy enemies. Players must look into the distress signal after arriving on Hyetta III. This article will guide you through all the objectives of the mission.
Entangled Walkthrough In Starfield
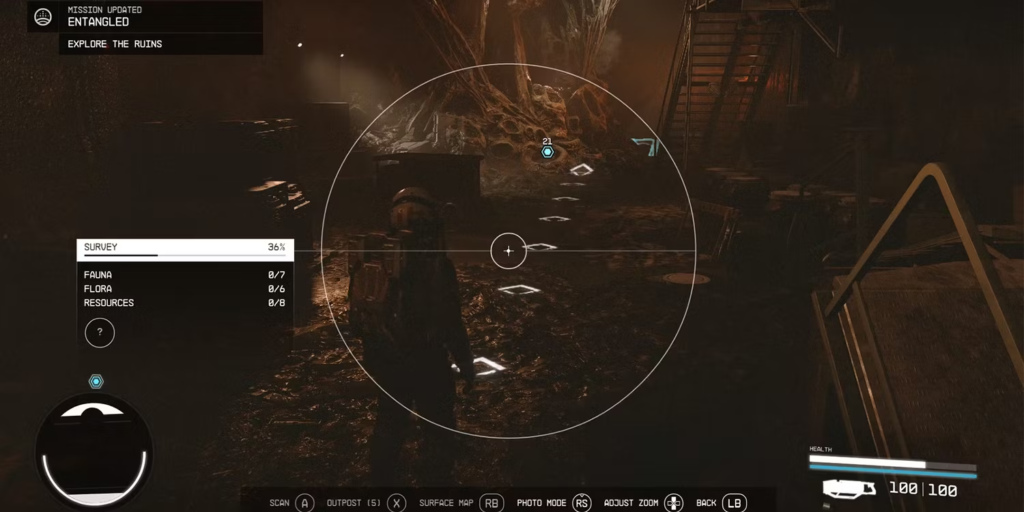
Upon your arrival on Hyetta III near the Nishina Research Station in Starfield, make your way to the intercom located at the top of the stairs. Use it to request entry. You will be welcomed by Ethan Hughes, the Chief of Security, who will guide you to the Director.
The Entangled Quest in Starfield offers three potential outcomes. Achieving the most favorable result necessitates additional actions, whereas the first two outcomes are determined by the choices made by the player. Below, you’ll find explanations for each possible ending.
As players progress through the Storage Roomthey will encounter a host of formidable Cataxi enemy. Upon returning, speak with the anxious Ethan, who insists on a meeting with the Director. However, the players are swiftly send back into the Ruins.
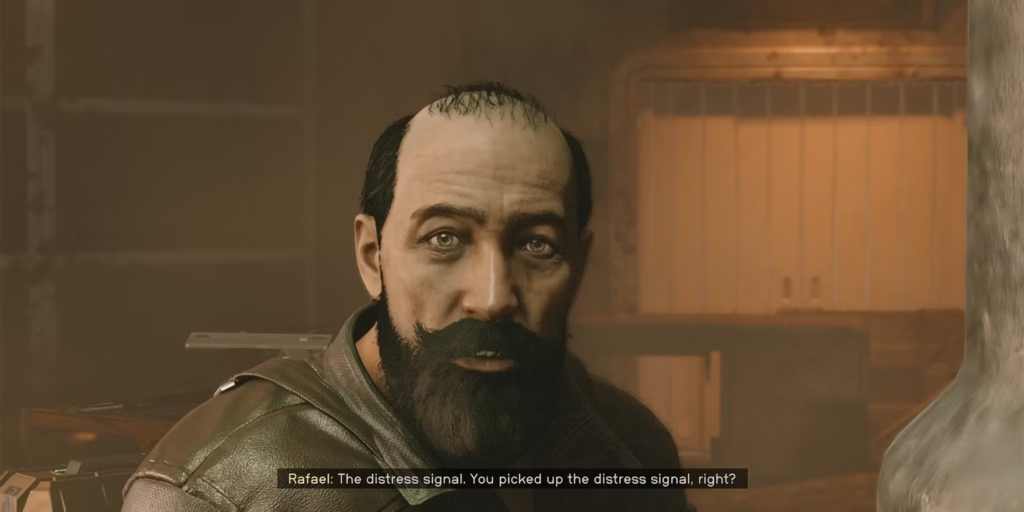
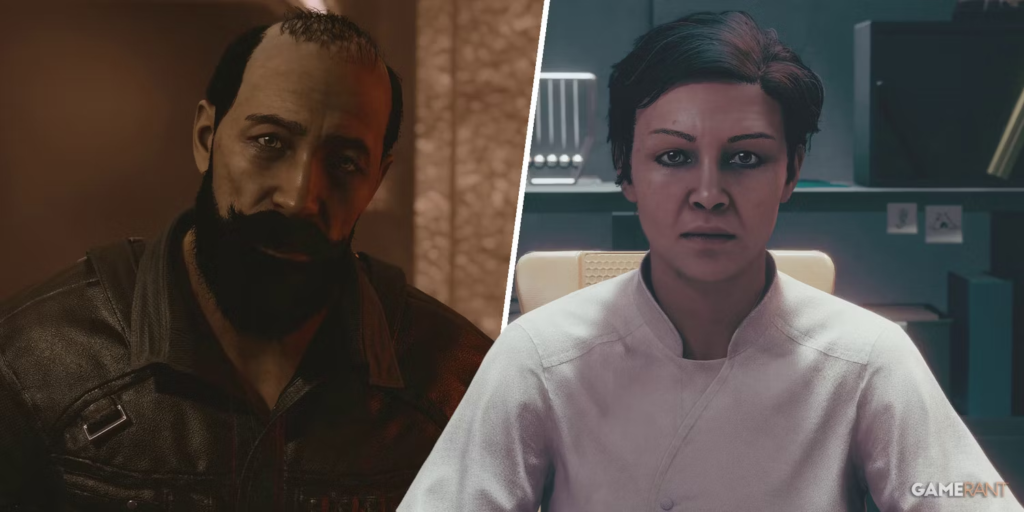
Speak to Rafael, who it turns out was the person who issued the distress signal and was in charge of the mishap that took place. Regrettably, the conversation is abruptly interrupted as players are called back to Ethan, who reveals the Director’s office’s whereabouts.
How To Get To The Starfield Director’s Office
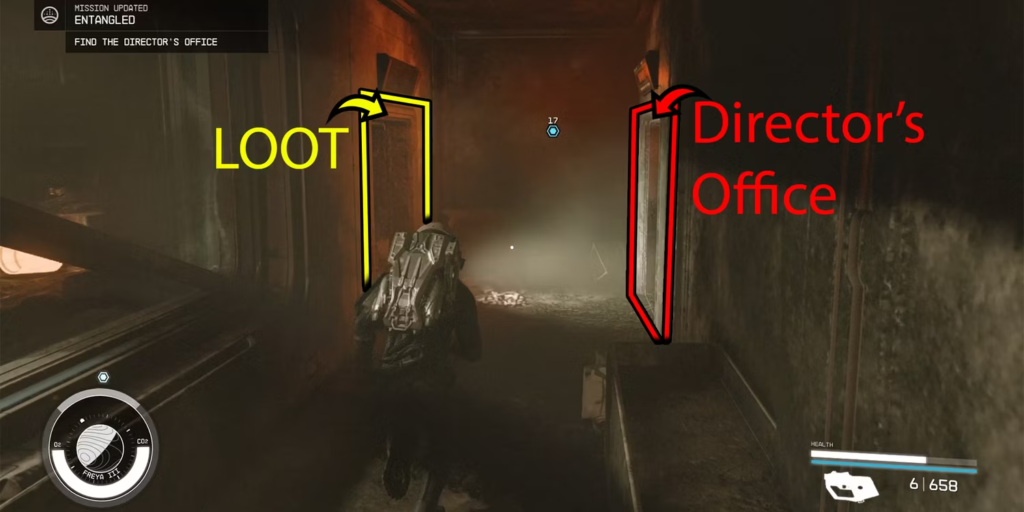
People will enter the hallway and then return to the Ruins. For some treasure and healing, turn left, then go back, turn right, and ascend the stairs to the Director’s office. The players are once more dragged into the Research Station before they can even enter, where they will encounter Maria and Director Patel and explain the issue.
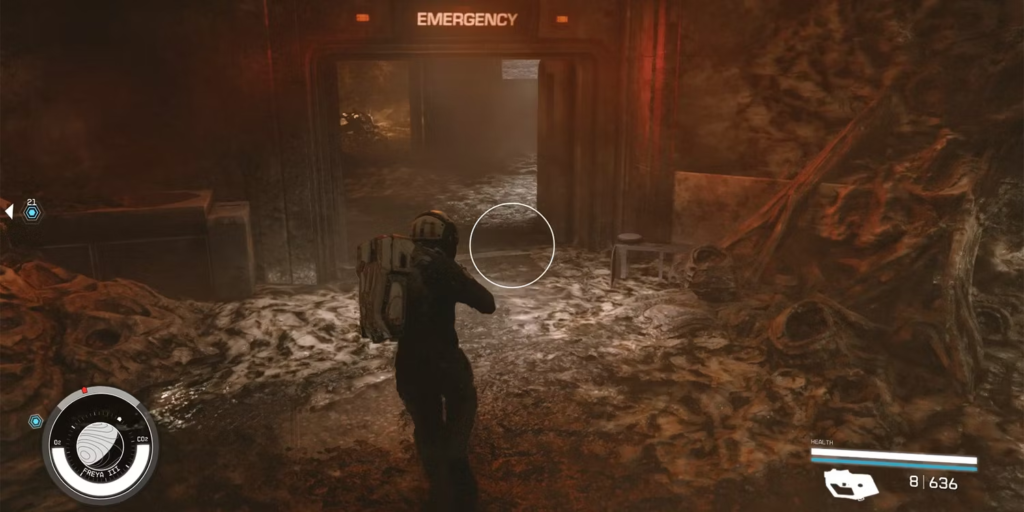
Then proceeded to the Fabrication Lab after Maria, only to be flung into the Ruins. Turn around, then go through the emergency door on the right and the left. Rafael will provide you with the Nishina Pantry Keycard if you follow the quest marker to Starfield, where he can be found.
How To Get To The Lab In Starfield
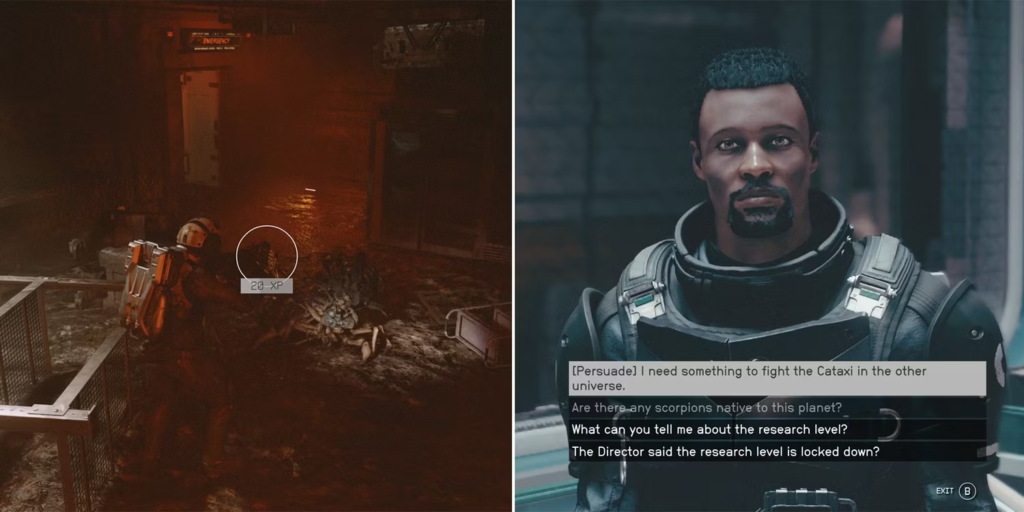
With the key, unlock the Pantry to enter the Station, then exit to the Main Hall to head back to the Ruins. Defeat the Cataxi and get in touch with Rafael once more to find out how to obtain the Artifact. Warp back and run into Ethan by heading in the direction of the destroyed office. Then mention the adversaries by selecting the Scorpions option as you ask him how to get to the Fabrication Lab.
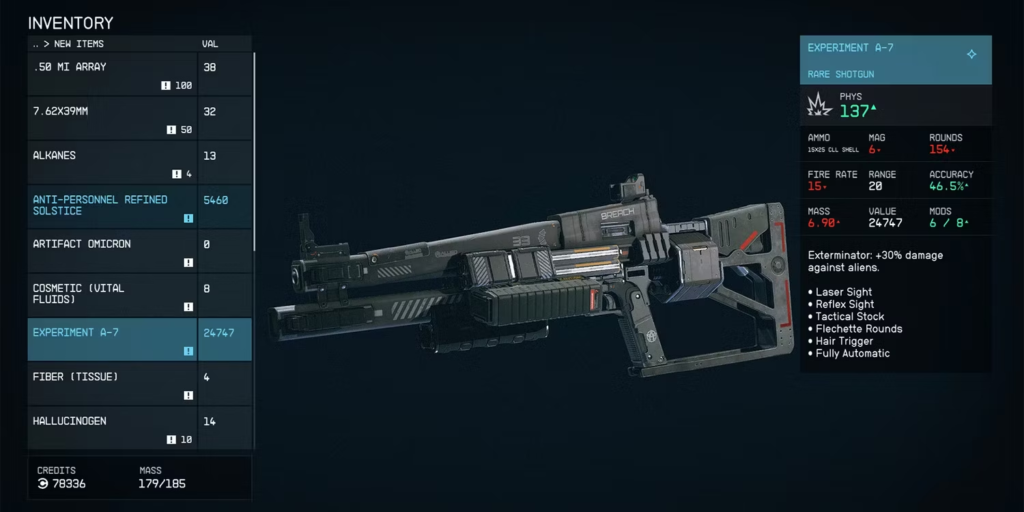
If players are successful in persuading Ethan, he will offer them the Experiment A-7 Rare Shotgun, which deals 30% more damage to aliens.
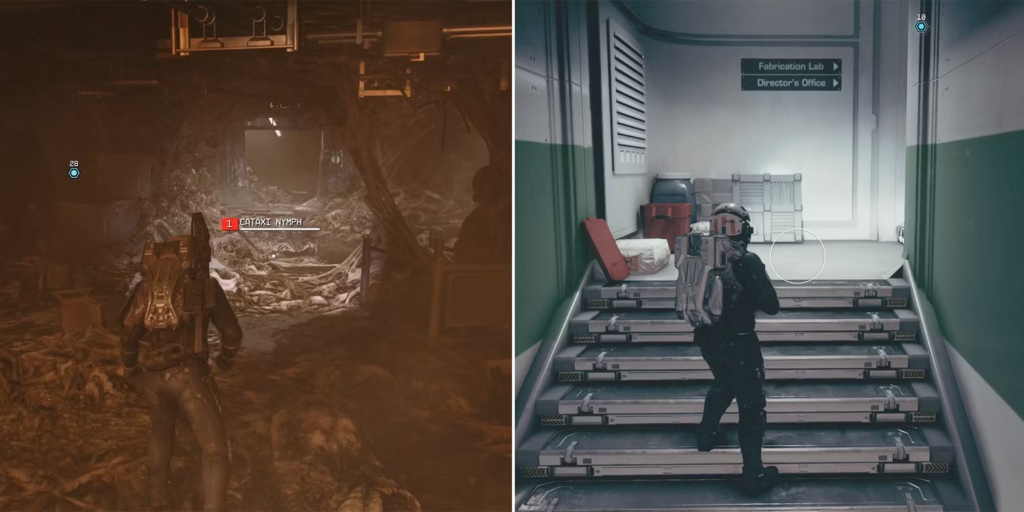
Leave the office and proceed to the Main Hall to take a transport to Starfield’s Ruins. Kill every adversary before going through the left door. Continue until you reach an emergency door. To be tossed back into the Station next to the Fabrication Lab, ascend the stairs.
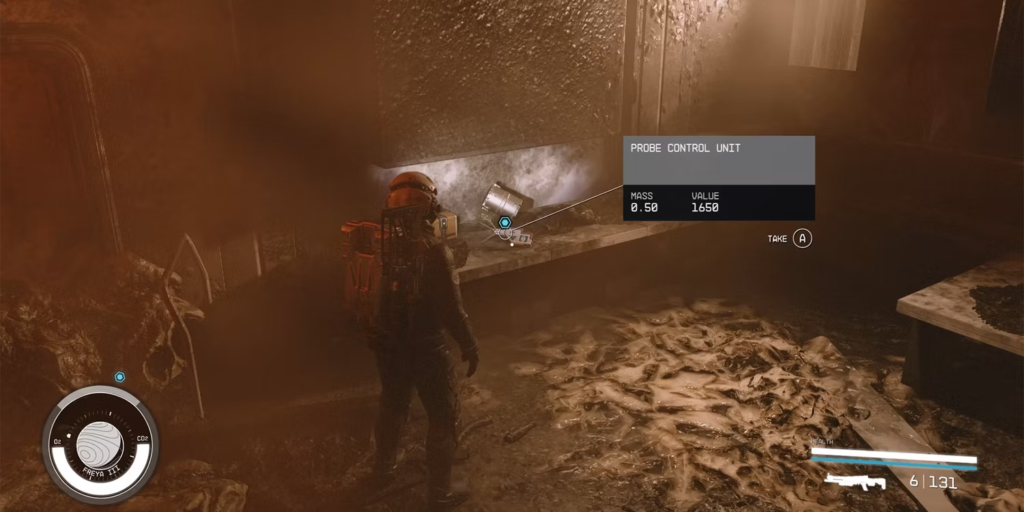
Players receive a Probe Control Unit after completing a brief experiment with Maria, and they can now freely enter and exit the Ruins by utilizing the many Distortions positioned throughout the Station.
Return to the Director, who informs you that a critical choice needs to be taken. Players don’t need to make a decision right away because their final step behaviour will determine the outcome.
How To Override The Lockdown In The Facilities Section

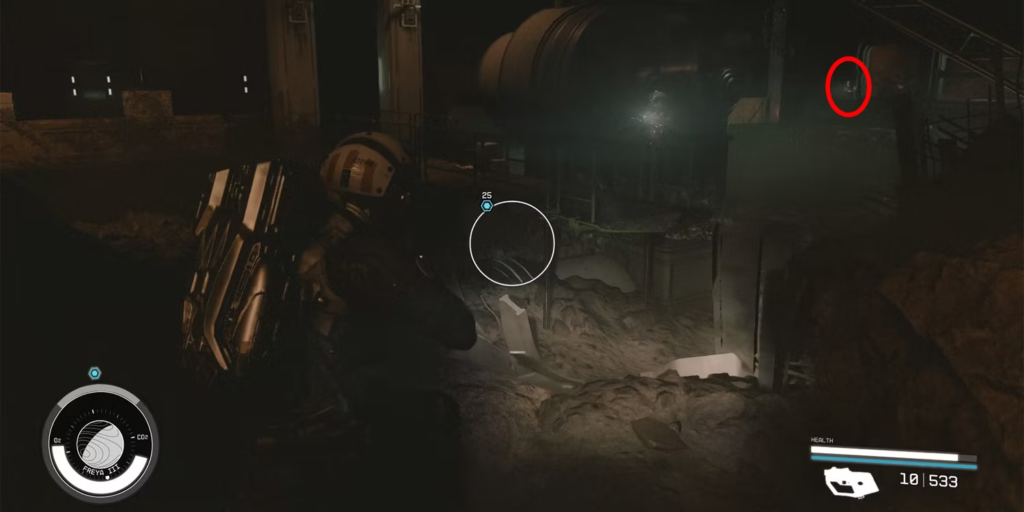
Use the elevator to descend once you reach the Ruins, then engage the Distortion to return. Once you reach a locked white door in Starfield, continue following the quest sign. Use the nearby Distortion to go to the Ruins, then enter to obtain the Nishina Practice Lab Keycard. Until players reach a deeper area of the Station, they should follow the marker and make appropriate use of the available Distortions.
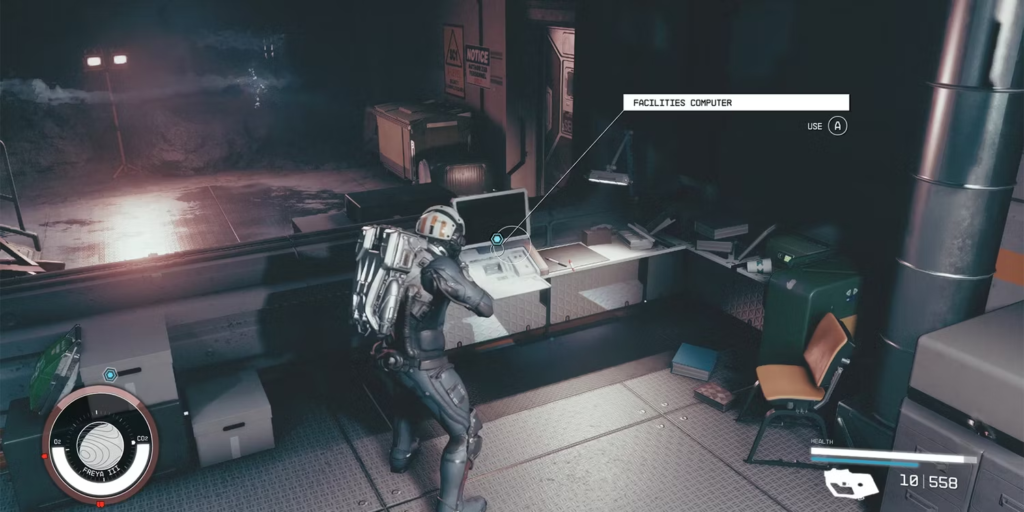
To use the Distortion in the lone open room, descend the slopes and take care of the Robots and Turrets. Return to the regular Station and utilize the computer there to override the lockdown in the Facilities Section since the broken computer is useless there.
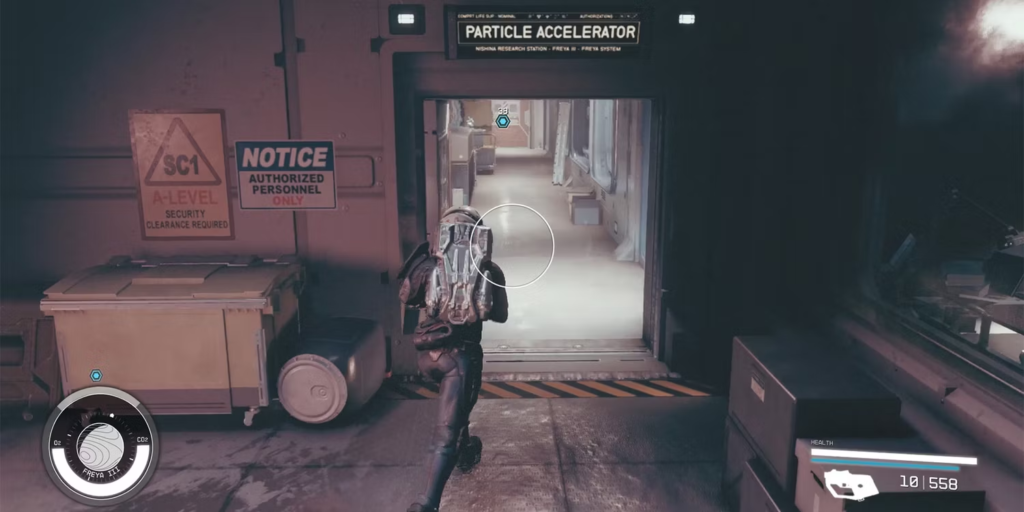
How To Override The Lockdown In The Accelerator Section
Use the elevator to descend once you reach the Ruins, then engage the Distortion to return. Once you reach a locked white door in Starfield, continue following the quest sign. Use the nearby Distortion to go to the Ruins, then enter to obtain the Nishina Practice Lab Keycard. Until players reach a deeper area of the Station, they should follow the marker and make appropriate use of the available Distortions.
To use the Distortion in the lone open room, descend the slopes and take care of the Robots and Turrets. Return to the regular Station and utilize the computer there to override the lockdown in the Facilities Section since the broken computer is useless there.
Follow the signpost and use the one across instead of the distortion close to the railing.
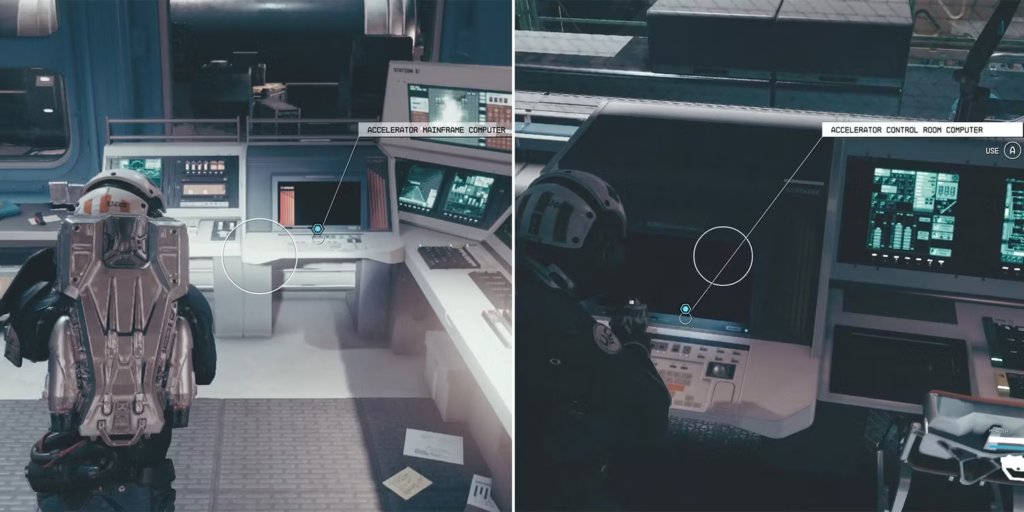
Return to the Station and use the key to unlock the Utility Closet after going down the stairs. Use the Distortion inside to get to the Ruins, then use a different one to get back to the Station so you can use the Computer to utilize the Accelerator Control Room’s security system and unlock it. Go back up to the emergency door that was previously locked to override the lockdown in the accelerator section.
How To Override The Lockdown In The Storage Section
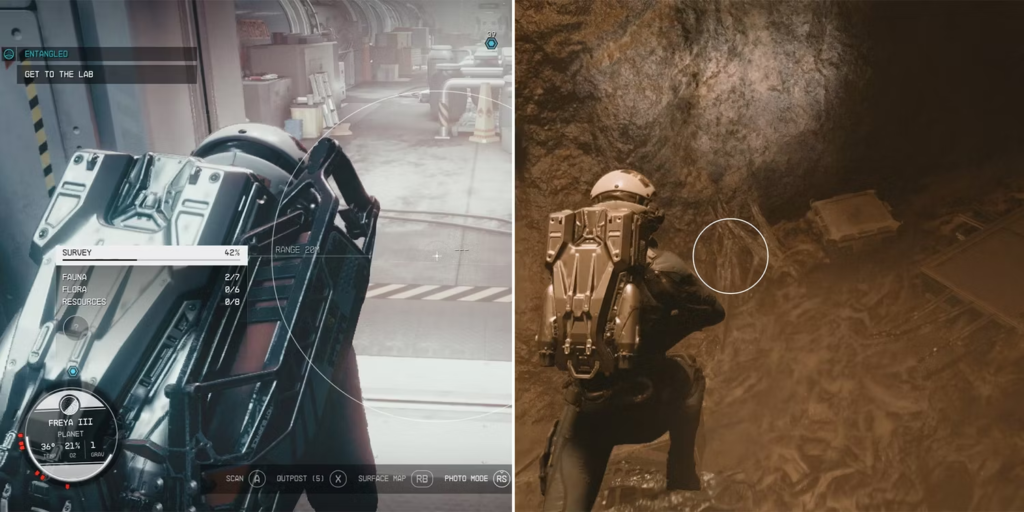
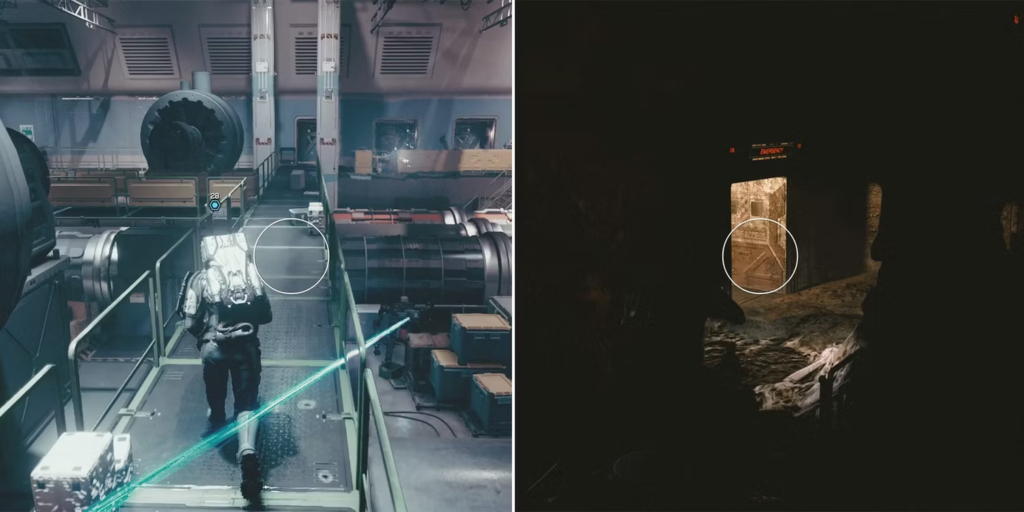
Go to the quest marker from the Accelerator Section to access Tunnel Access and use the Distortion there. Enter the cave, then ascend the final incline. To use the Distortion at the end of the chamber, warp to the Station and turn left.

Move past the Cataxi enemies and up another incline. You can utilize the computer in the Storage Section to bypass the lockdown by following the quest marker to the distortion.
Then, when you reach a stairway, follow the marking and proceed to the Ruins. To get to the last area, climb up and pass through two emergency doors. Here, players must decide before moving further.
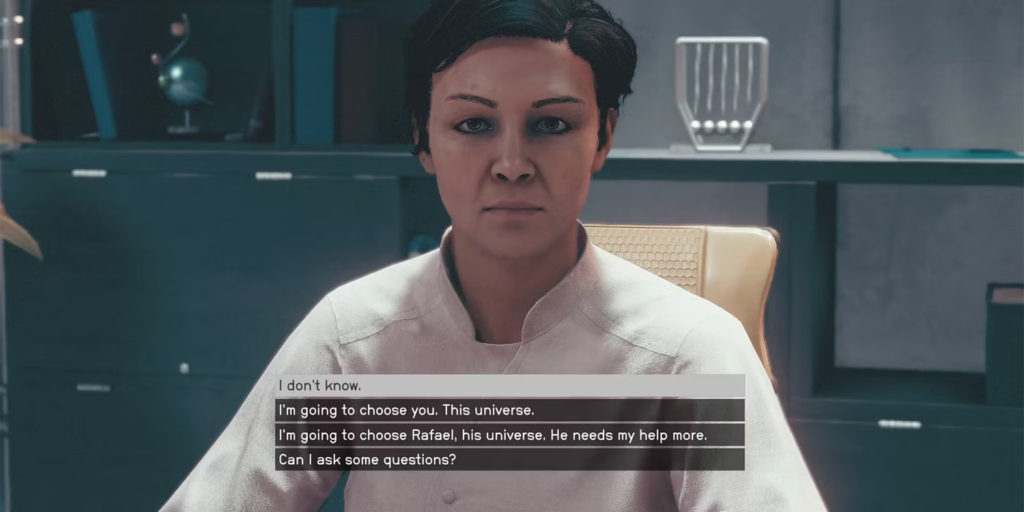
Should Power Interlocks Be Disengaged Or Switch Universes?
Players must carefully choose which universe they want to save when given the option because each one has a different outcome.
Choices
Disengage the Power Interlocks in the Ruins (Alternative Universe)
Consequences
All but Rafael are killed, but Rafael is spared.
Rafael can accept an invitation to join the Starfield players’ Crew.
Choices
Disengage the Power Interlocks in the Station
Consequences
Rafael dies, but everyone else lives.
Players receive Legendary Gear as a prize from the Director.
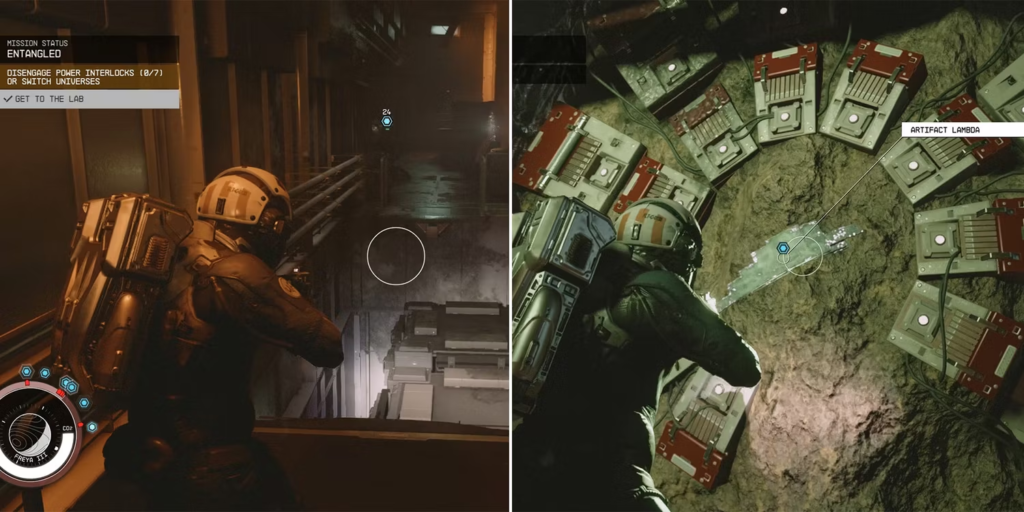
People must release the seven designated power interlocks dispersed throughout their ideal world to obtain the Artifact. The Entangled Quest is finished after the probe is shut down and the artefact is obtained.
How to Complete Entangled Quest and Save Both Realities
Players must carry out a series of instructions listed on a Slate to save both realities in Starfield. To read the instructions, go to Rafael’s body in the station and take the Probe Calibration Protocol Slate.
To get to the computer room, head to the Ruins and go up the stairs adjacent to Rafael’s corpse.
Start the degaussing procedure in the ruins by using the lab control computer.
Players must locate the Power Interlocks numbers that the computer will randomly assign them before turning the corresponding Power Interlocks on and off to degauss them. The numbers in this instance are 3 and 7.
Check the computer once more to be sure the degaussing is finished, then proceed to the Station.
Use the provided Power Interlocks numbers to turn on and off the computer to initiate a new Degaussing operation. The numbers in this instance are 4 and 6.
Make sure that the computer has finished the degaussing process. And them, Change the Frequency Calibration parameters to 40 GHZ by entering them. After that set the Frequency to 24 GHZ and warp to the ruins.
Get there quickly and start the primary calibration on the artefact.
To turn on the Primary Calibration as well, travel to the Station from the adjacent Distortion.