Here’s how to unlock every door and obtain the buried riches in Remnant 2’s Cathedral of Omens region. One of the three randomly generated environments in Remnant 2 is Yaesha, which features a number of side routes leading to places like the Cathedral of Omens. You won’t encounter any enemies in this unusual environment, but you will need to work through a number of challenges in order to find all the buried wealth. When you enter the main hall of the location, huge machinery will be visible.
Two locked doors with intriguing symbols over them are also there. In addition, a third hidden treasure site in the vicinity provides you with a bow-type Long Gun.
How to Gather Indicators to Unravel the Puzzle

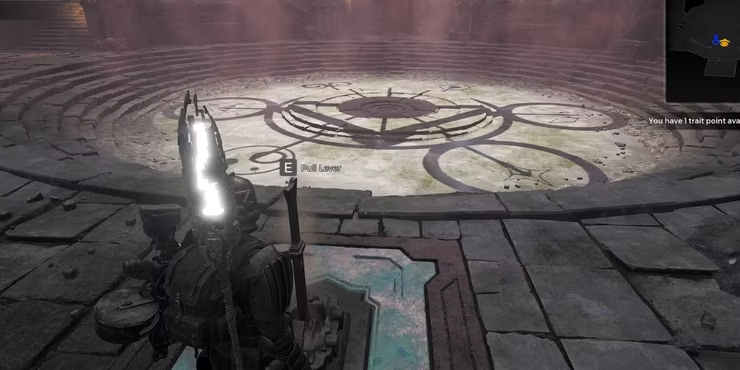
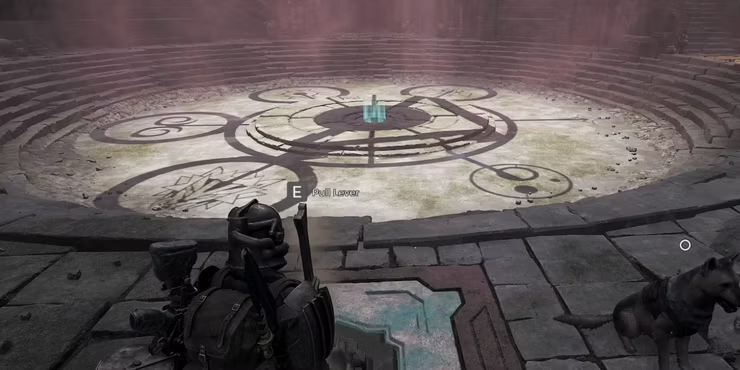
One of the most crucial components in trying to solve the Cathedral of Omens problem is assigning directions and taking screenshots. You will notice three levers as soon as you enter the space. As you enter, there will be one lever directly in front of you, one on the left-opening door, and the final one on the right-closing door.
You can see a mechanism in the centre that has three sets of objects that are creating shadows on the ground. These items are under the following three levers’ control:
The first lever you come across controls two circles that are facing each other and a triangle that connects them. The most crucial piece of the puzzle is this one.
The shapes on the mechanism will be managed by the lever to the right. Each form has a unique significance, which is revealed in the individual clue detailed below.
Finally, the two adjacent circles are contained in the lever to the left.
A piece of paper outdoors that discusses “The Beginning” can also be found. Under the headline, there will be a triangular sign that corresponds to the one above this entrance. In addition, the website will discuss the Sun, Moon, and Life. You just need to keep in mind the terms on these pages that are printed in all capital letters or that are italicised, such as “above” or “below”.
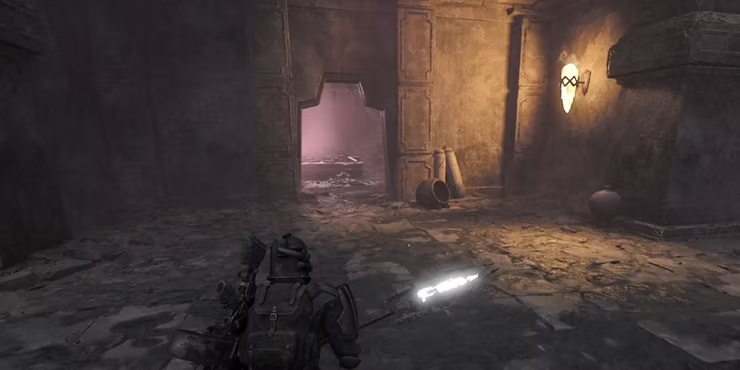
You can find another little door with a book inside to the right of the entrance you used to enter this space. In addition to the previous page’s bold and italic text, this book has three extra headers with a triangular symbol beneath each of them. It is advised to capture screenshots of this book’s pages.
It will also have several names at first, along with their corresponding symbols. You can start making connections between these symbols and those on the mechanism’s top row once you have done so.
The Solution to the Front Door Puzzle
You must begin by focusing on one door at a time in order to tackle the Cathedral of Omens riddles. Look at the door just in front of the space’s entrance first. This has a triangle on it that is facing to the left. Another crucial point to keep in mind is that depending on the door you’re trying to open, the mechanism’s front (or north) direction will change.
Given that you enter the region facing the front direction, the first puzzle is easier. When the triangle is facing the left side, move to the lever at the door and start interacting with it. Consult the book’s screenshots to confirm if the symbol is associated with The Calamity.
The Ravager, The Doe, and Death are all mentioned. Turn the lever on the right that controls the symbols so that the Ravager and The Doe are on the circles that the entry lever controls and the Death symbol is on the top portion of the triangle because it is “above” by moving the lever.
The Doe symbol will be at the bottom, The Ravager at the top, and Death at the bottom left if you are looking from the entrance lever. Finally, turn the lever to the left until the Death symbol is covered by one circle and The Doe by the other. By doing this, you can unlock the front door and get your prize.
Right Door Puzzle Solution
It is advised to cause a Blood Moon in Yaesha before you begin opening the door on your right. When the Blood Moon is out, glance at the right door to see that the triangle is pointing up and to the left.
As was already noted, depending on the door, the puzzle’s front direction changes. The top right side from the entrance lever would be the top left side for this puzzle. Reread the book after rotating the triangle so that it faces this way. The Blood Moon’s triangle shape represents the Moon, Sun, and The Ravager.

On the second page, the italicised term “below” is likewise located next to The Ravager. Rotate the symbols until the Moon is on the right and the Sun is on the left circle of the triangle. The Ravager’s logo will then appear underneath the triangle as a result. Simply turn the two nearby circles until they are positioned on The Ravager and the Moon.
Along with the open loot, this door also contains a hatch that only opens during a Blood Moon. You receive a ring and three Blood Moon Essences for taking this route.
Secret Final Puzzle Solution
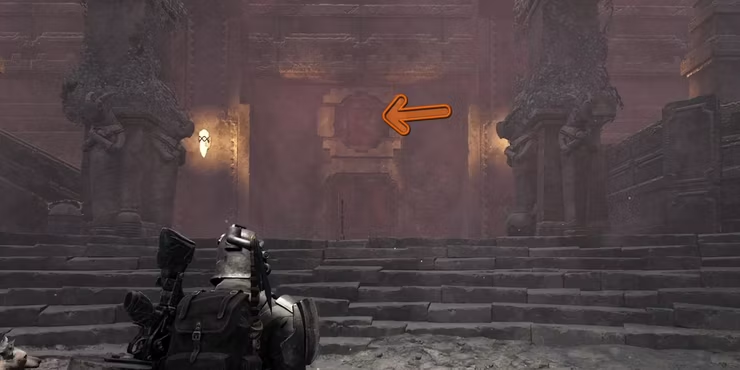
You can locate another triangle that faces the top right side if you look above the door you used to first access this space. Use the entry lever to adjust this till the triangle is pointed to the bottom left corner. This time, the triangle alludes to The Hope, and there are four names mentioned in the book as opposed to three.
The word “below” can be found close to Life and Sun. Rotate the symbols such that The Doe appears in the triangle’s left circle and The Ravager on the right. The Sun and Life will then move below the triangle as a result. Move the two adjacent circles now so that they land on Life and Sun simultaneously.
As a result, a small opening will appear in the midst of the problem, allowing you to obtain a new long gun for use in your future endeavours.