This walkthrough will guide you through all objectives of the More Than The Badge side quest in Dead Island 2. Dr Rueben Reed abruptly leaves the remaining survivors at the Serling Hotel on Ocean Avenue, leaving Jimmy Montana to secure the area. Contrary to his stage name, Jimmy’s performance falls short, requiring your intervention to apprehend a group of thieves who have stolen invaluable supplies from the survivors at the Serling Hotel.
Starting Location – More Than Just the Badge
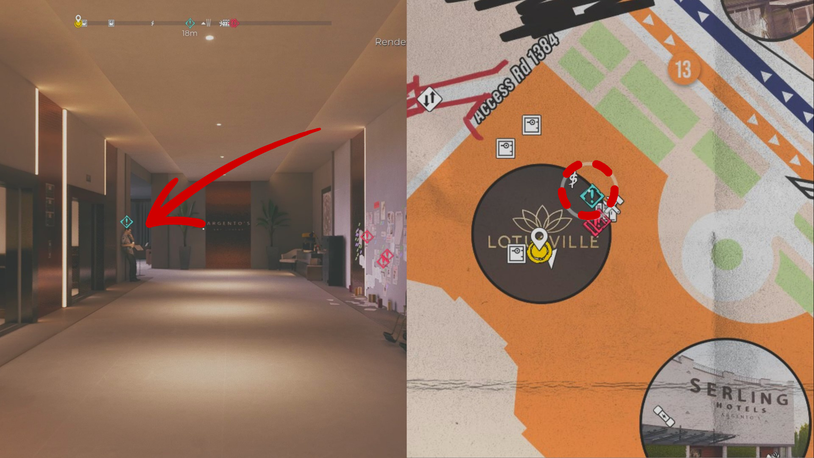
Upon your return to the Serling Hotel following the completion of The Search for Truth Story Quest, you discover the unsettling absence of Dr. Reed and his daughter, Tisha. Presently, Jimmy Montana has assumed temporary command, while numerous supplies have mysteriously gone missing. As you make your way down the hallway that leads to the Argento’s Sky Lounge in the Serling Hotel on Ocean Avenue, you’ll come across Jimmy Montana, leaning against one of the lift bays.
Catch the thieves! Race to the alley by Beancup
Speak with Jimmy follow the quest marker to the alley. Once there, you must look for hints. Interact with the “The Badge” poster that is located in the alley’s back left corner.

Once you locate the poster, a few zombies will start to appear, including Sasha, a former thief who has now become a Screamer. Kill the Sasha Screamer to get the next hint—another poster for “The Badge”—and the next clue. A letter from the thieves instructing Jimmy to meet them at the MegaPark on Ocean Avenue can be seen on this poster.
Head to the MegaPark after the surviving thieves
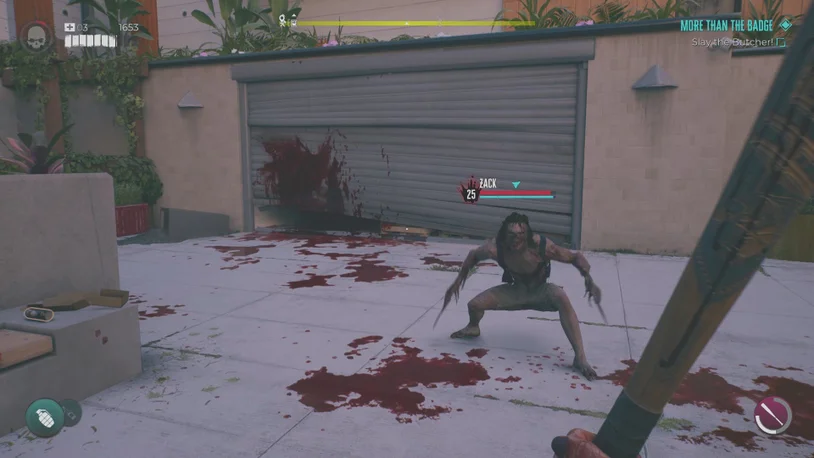
Once you picked up the letter, follow the quest marker to the MegaPark. The MegaPark parking garage is located at the junction of Silicon Street and Stoker Place. There will be more zombies waiting for you as you get closer to the parking garage, including more Burning Walkers and a Butcher Apex version.
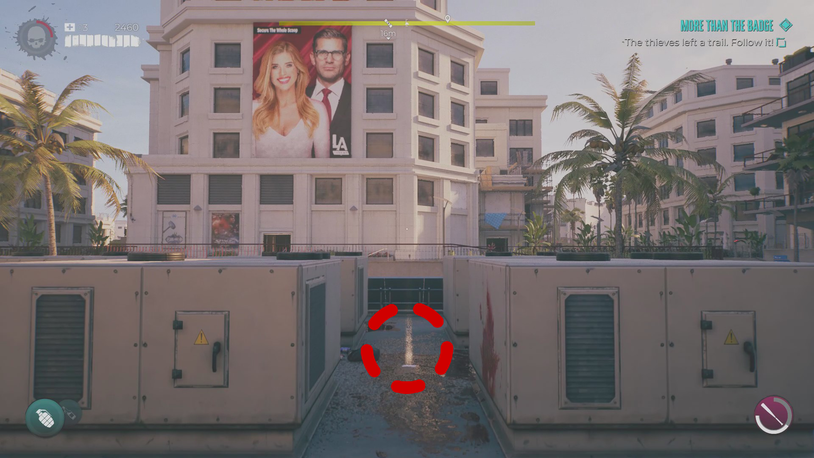
The thieves left a trail. Follow it!
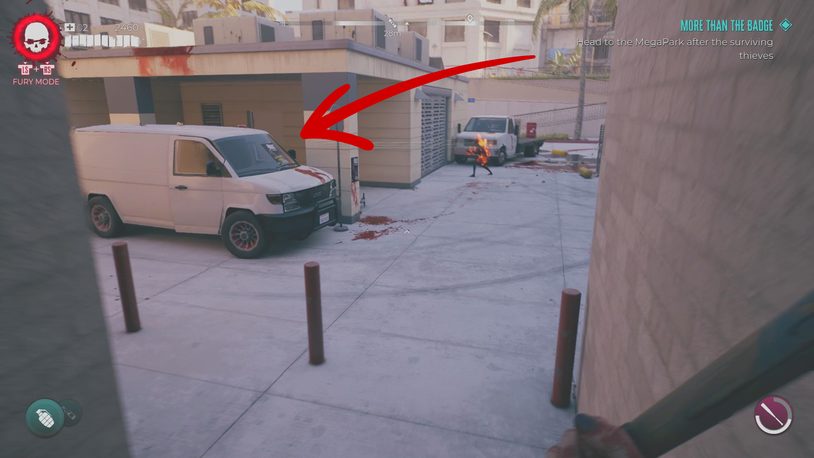
You may track the burglars’ next moves by following the blood trail starting from the posters to determine their whereabouts. Climb onto the white vehicle and then on the roof. You can locate a Note to Jimmy Journal up on the roof top.
The note you discover unveils the shocking truth that Jimmy was fully aware of the plot to steal the group’s food, yet he lacked the courage to execute it when the opportunity arose. With the truth now exposed, Jimmy reluctantly discloses the remaining details: to acquire the manager’s pass, head to the Burger 66 restaurant located on Ocean Avenue.
Clean up Jimmy’s mess at Burger 66
Follow the quest marker to Burger 66. Eliminate all the zombies in the area. Once the Butcher appeared, kill it to get manager’s pass.

One of the red tables at the Burger 66 outside seating area is where you can find “The Badge Trailer” Audio Journal after defeating the Butcher.

Hightail to the mall! Ava needs the pass to shut off the alarm!
With the manager’s pass in your possession, make your way back to the Lotusville Mall. However, before you can return to the Serling Hotel on the third floor, you must first eliminate the Apex Variants and zombies that have taken over the foyer.
You’ll need to confront and defeat the Firestorm Slobber located on the first floor. Once you’ve successfully overcome this mosters, Ava will emerge from behind one of the gates near the entrance.

Move up and clear the Apex Variants from the second floor
Before proceeding to the third floor, make sure to ascend to the second floor and eliminate the Firestorm Slobber there as well.
What the fuck was all this about? Confront Jimmy
After successfully dealing with all the zombies and Firestorm Slobbers within the Lotusville Mall, return to the Serling Hotel on the third floor. Confront Jimmy near the lift bays and hold him accountable for his actions. While he may lack a genuine justification for his deeds, you can still expect to receive compensation for the trouble he has caused in making you clean up his mess.