
The Raid is the 2nd level of the game Evil West. This walkthrough will assist you in locating every collectible in level 2 – The Raid.
Related Topic: All Collectibles Locations in The First Spark – Evil West
1 – Bucks Location # 1
At the start of the second mission, go forward and cross a wooden bridge. On the right is a cash box.
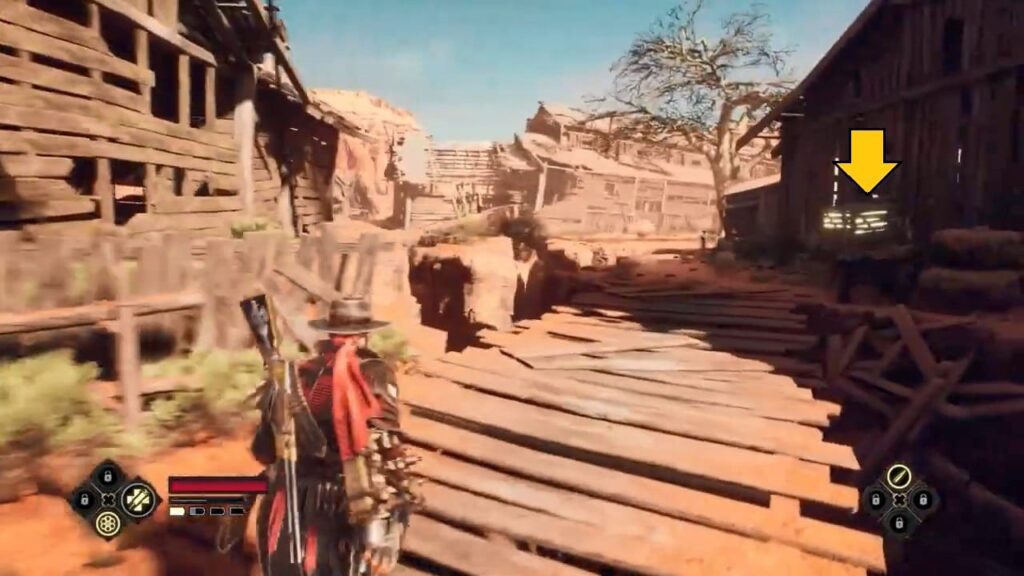
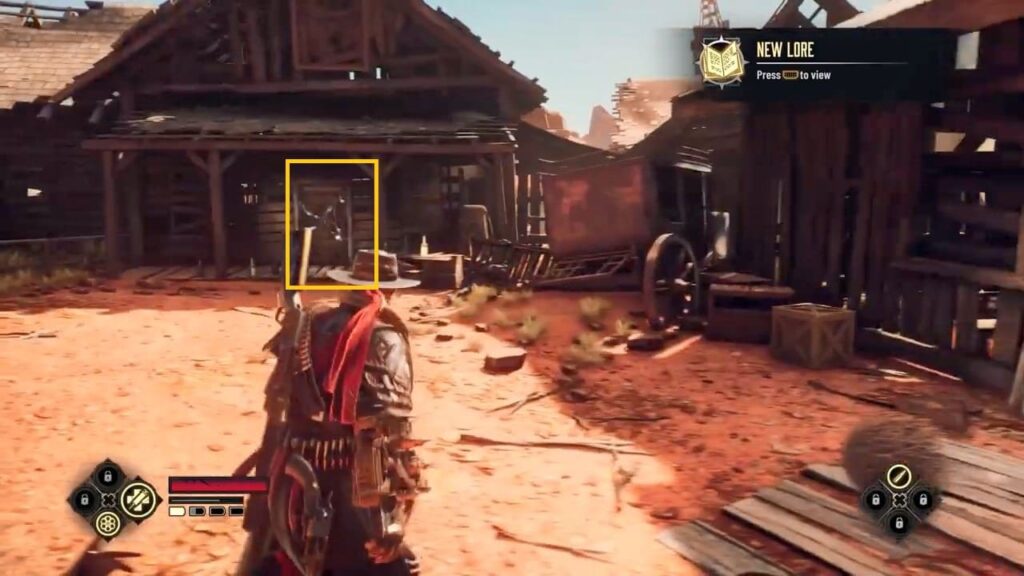
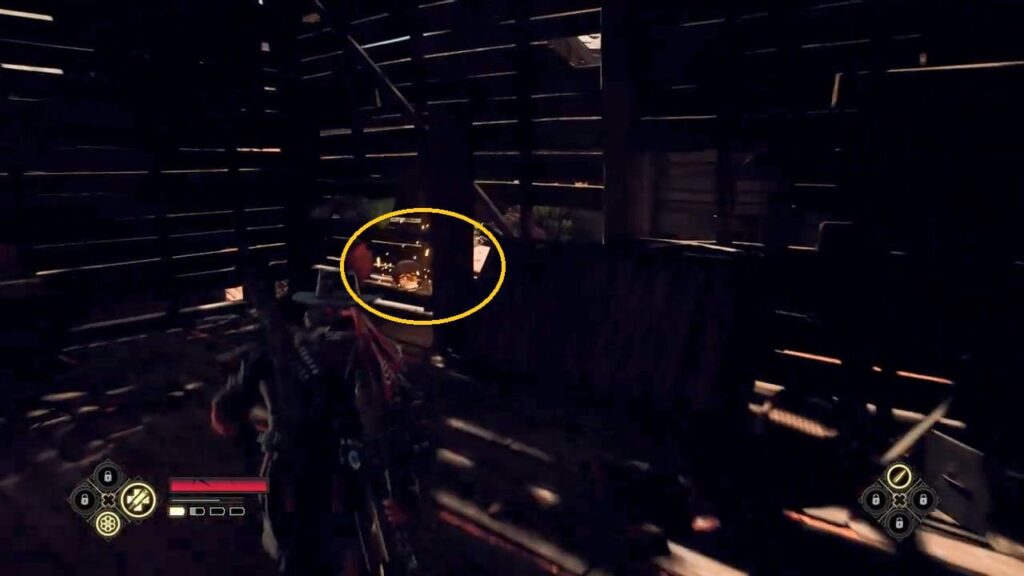
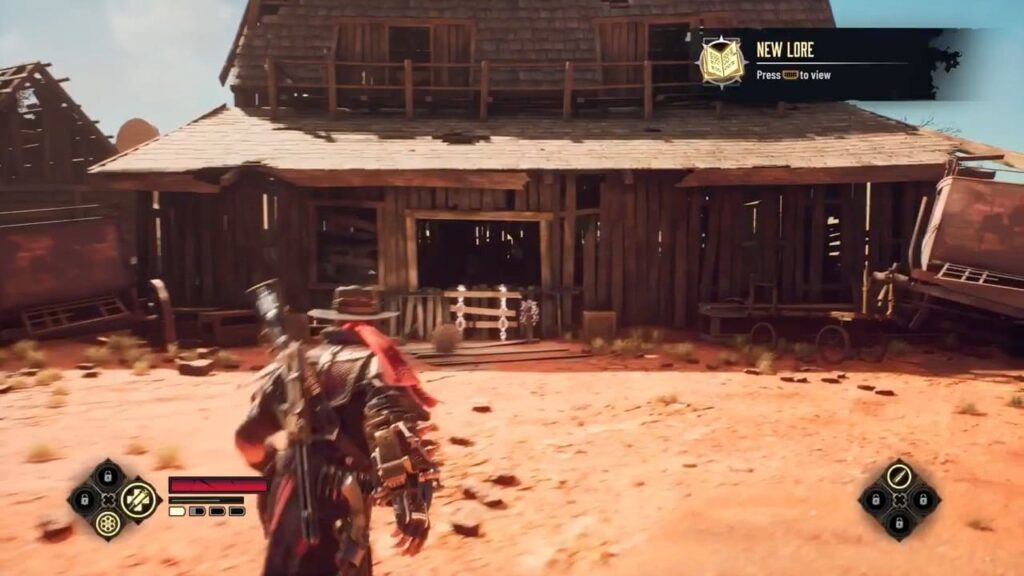
2 – Bucks Location # 2
After the wooden bridge, you will reach an open area where you can use a rifle for the first time. After defeating the enemies outside the house, enter the barn highlighted by a locked door. The Bucks can be found on a shelf along the right wall.
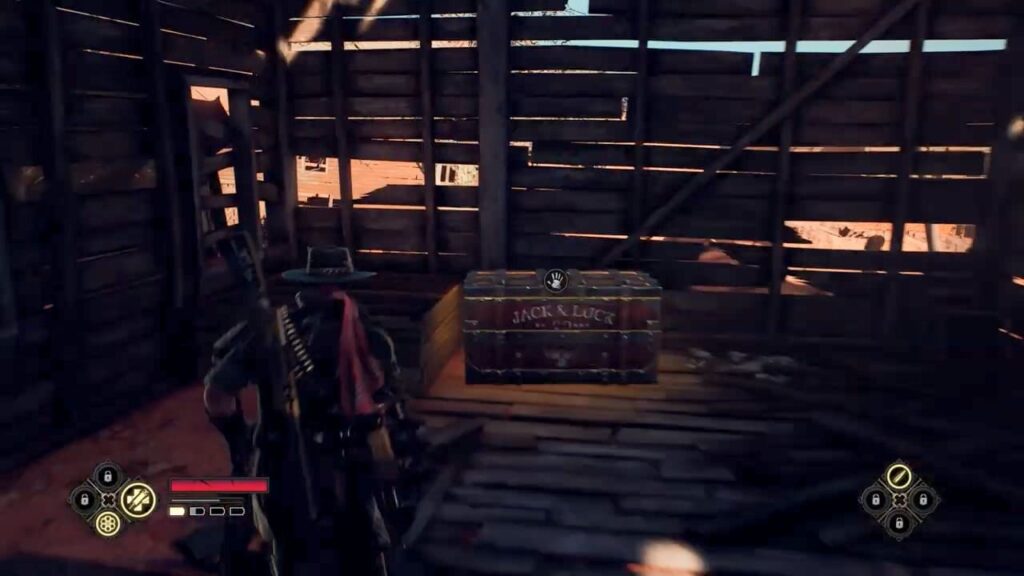
3 – Chest #1
The chest is in an adjacent room where you find the previous item.
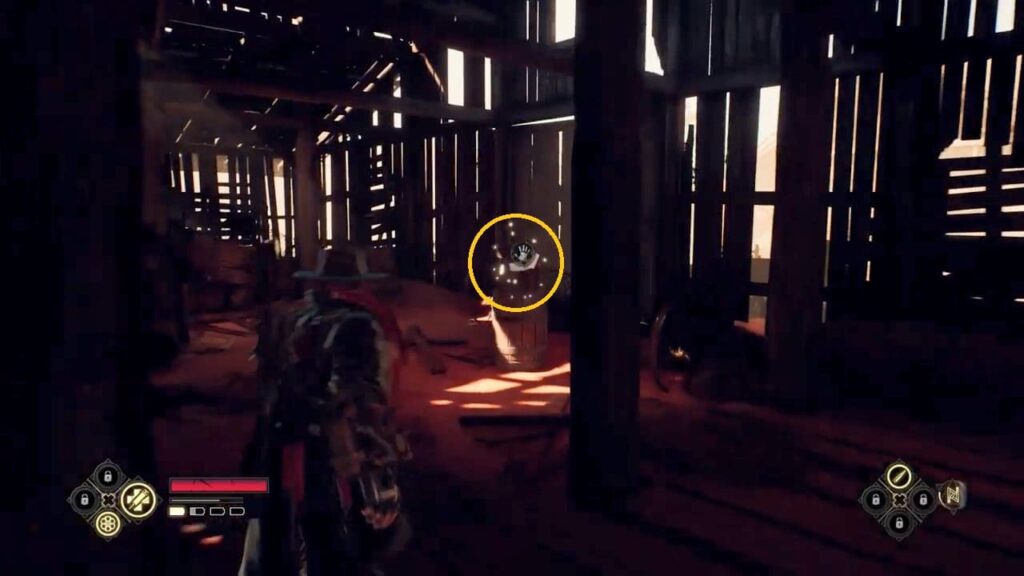
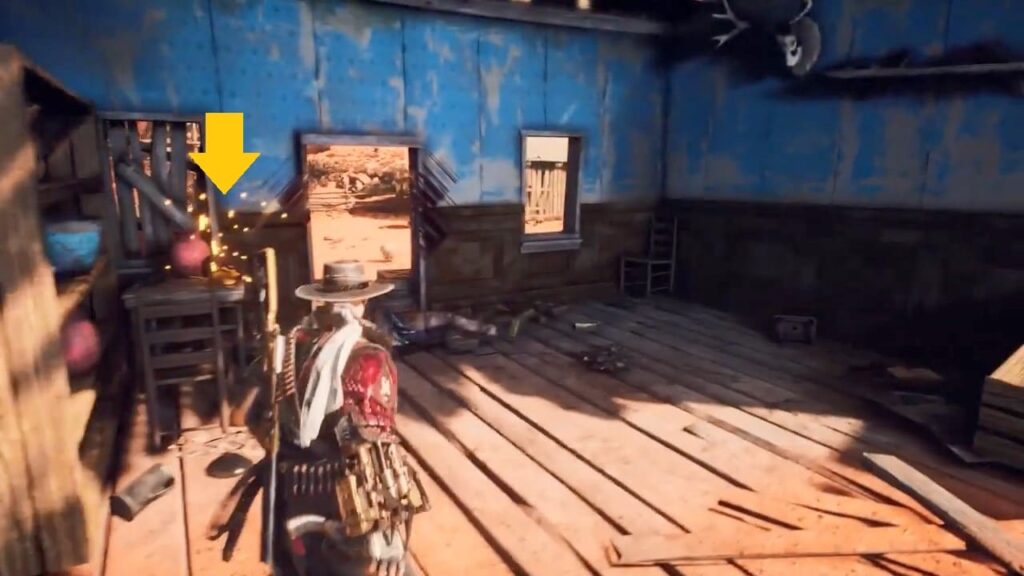
4 – Familiar Tattoo Project
Exit the barn and enter another building with the highlighted opening. The collectible can be found inside the building on a barrel.
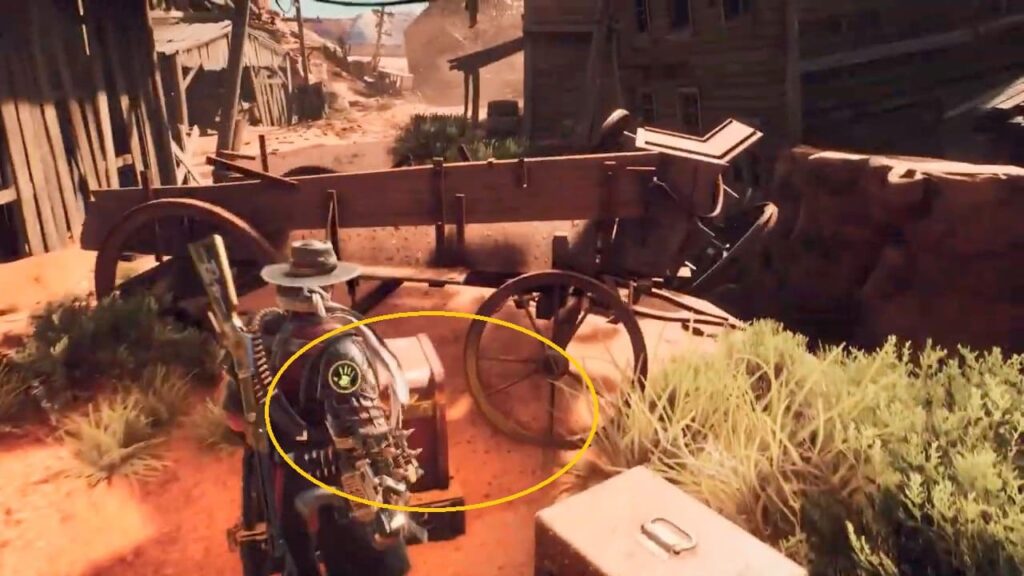
5 – Bucks Location # 3
Drop down through the attic opening on the second level of the same building. Then turn right and proceed to the back of the building from which you jumped to find a broken cart. Smash the chest beside the cart to collect bucks.
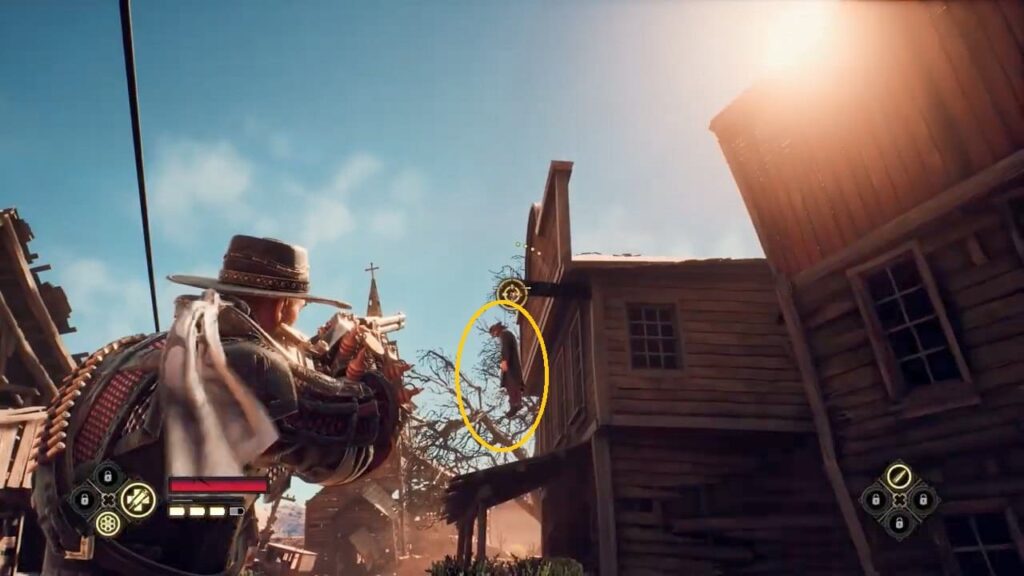
6 – Bucks Location # 4
Look up on the main path to see a hanged man. Shoot the rope to drop the corpse along with the bucks bag.
7 – Bucks Location # 5
Go toward the church on the main path and look for a highlighted chain on a small pole on the left side. Cross to the other side and destroy a glowing crate to get bucks.
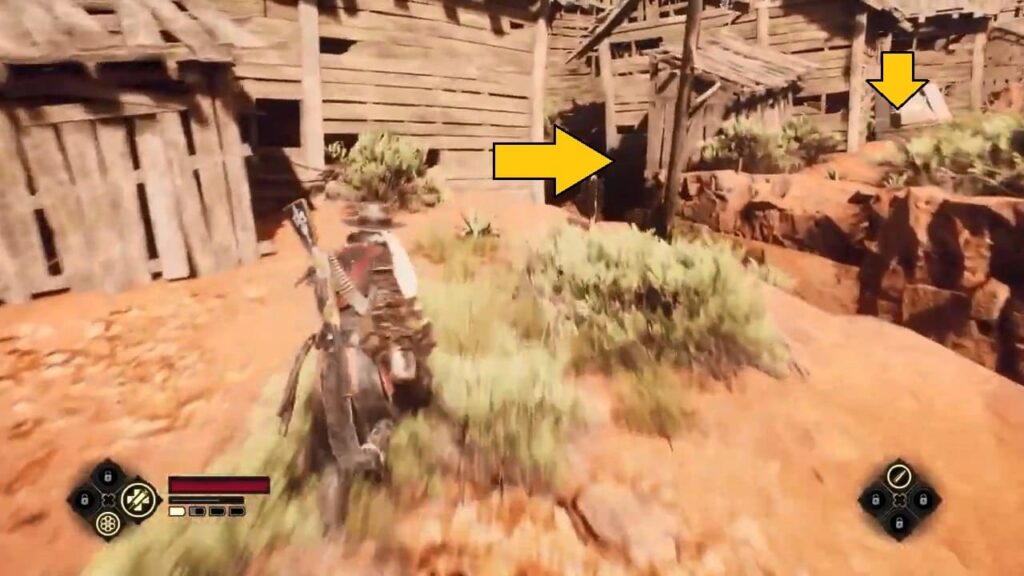
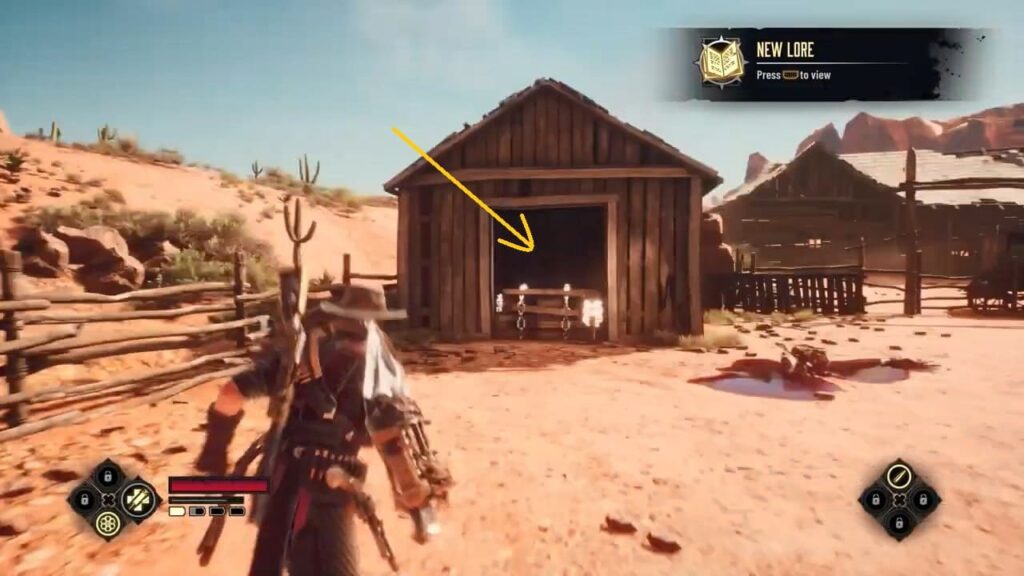
8 – Bucks Location # 6
Clear the blocked path to the church’s right. Then, in the next area, defeat all enemies. Go to the shed on the left side to find a bag of bucks.
9 – Bucks Location # 7
Enter the building that housed the sharpshooters. Turn left and proceed to the second room on the left. You’ll see the Bucks on a table.
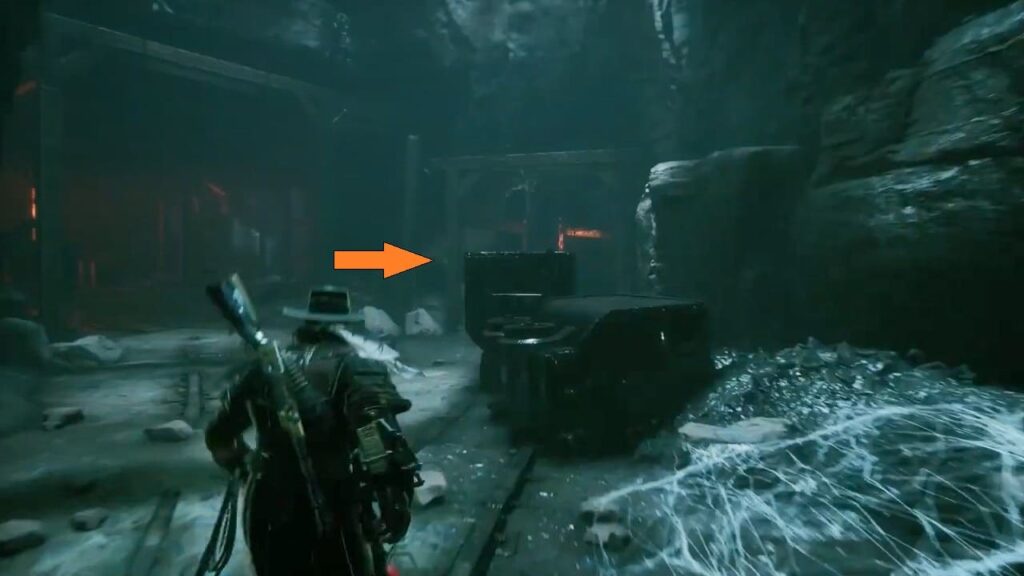
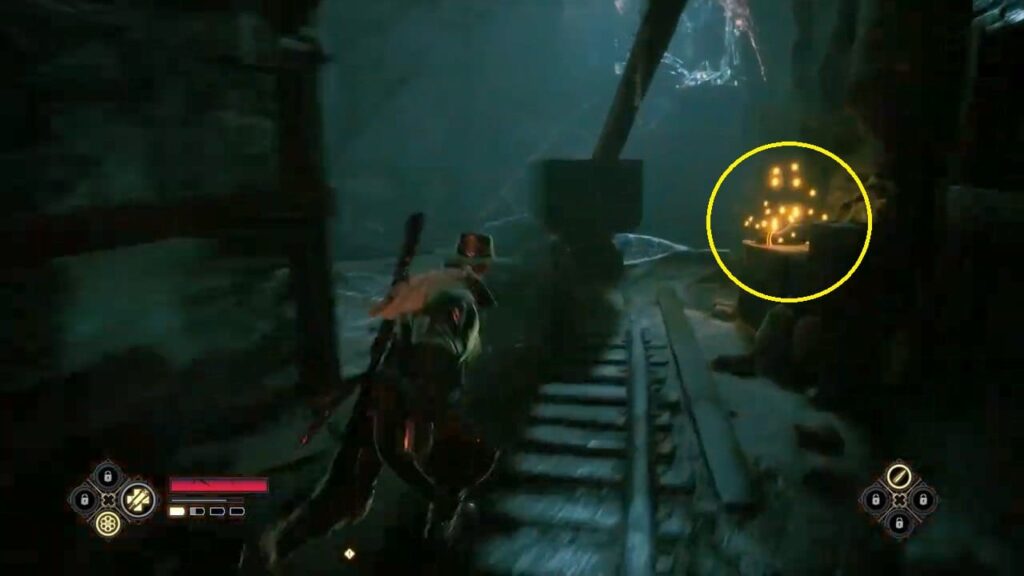
10 – Bucks Location #8
Inside the mine, blow up the TNT crates on the right track (path). Go forward until you see three mine carts turned over. Bucks is behind the cart.

11 – Bucks Location #9
This time blow up the TNT crates on the left track (path) and follow the rail tracks to find a bag of bucks on the left.
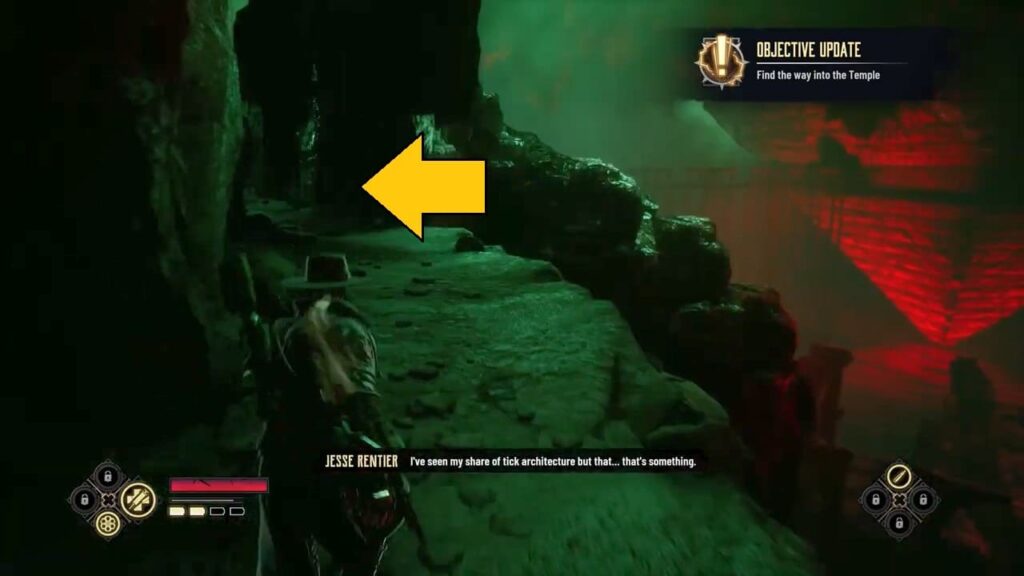
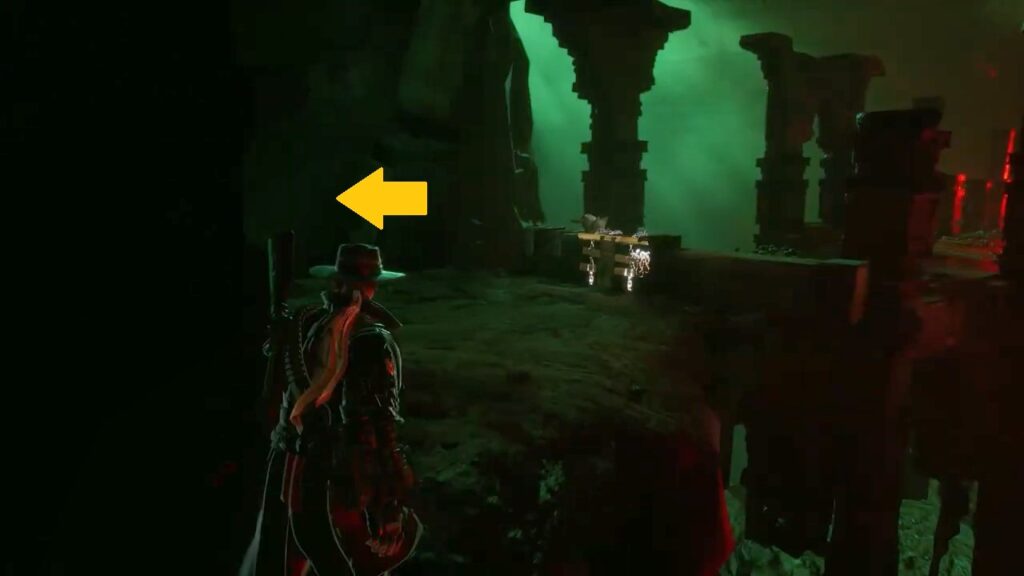
12 – Peter D’Abano’s Notes 1/3
Continue on the main path until you reach an area with an upside-down pyramid on the far right. Follow the path on the left to find Peter D’Abano’s Notes 1/3
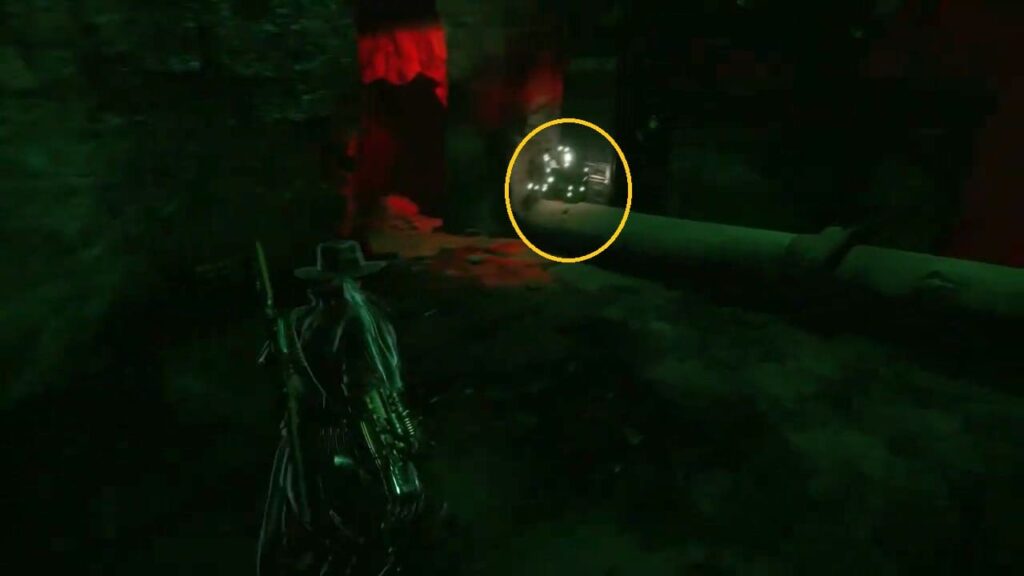
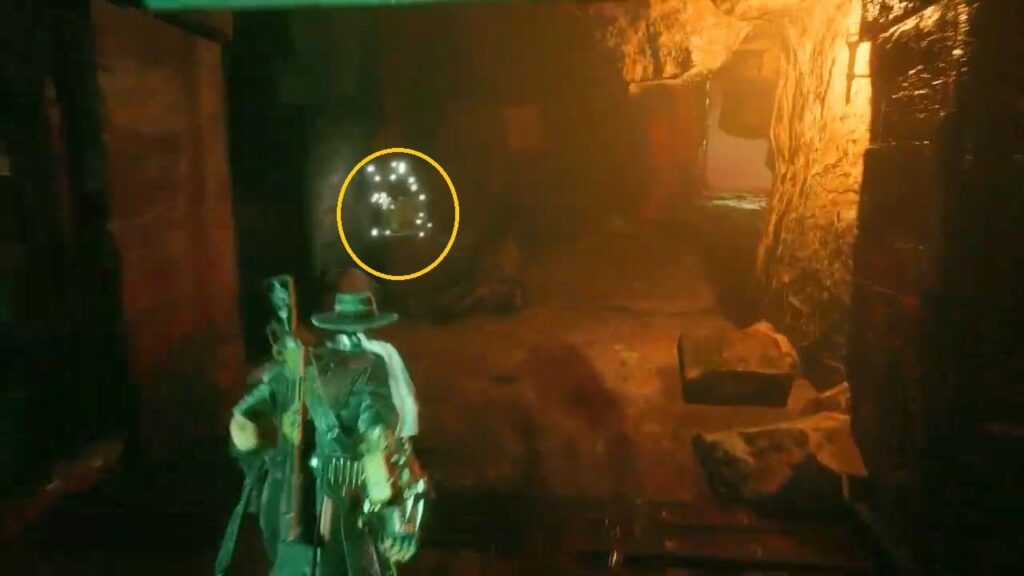
13 – Bucks Location #9
Head left from the previous collectible and then blow up the TNT crates. Proceed through the freshly created path to find bucks.
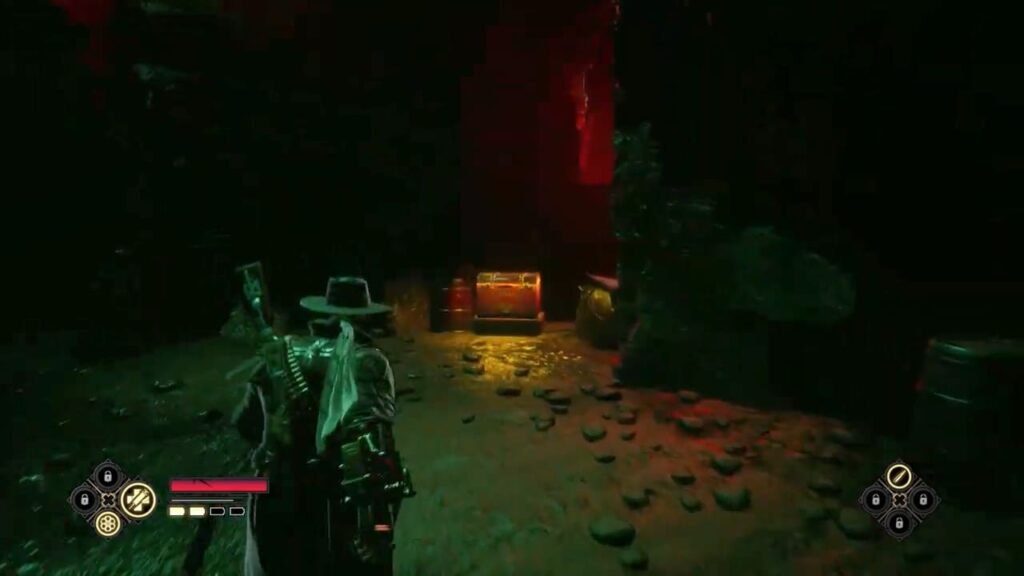
14 – Bucks Location #10
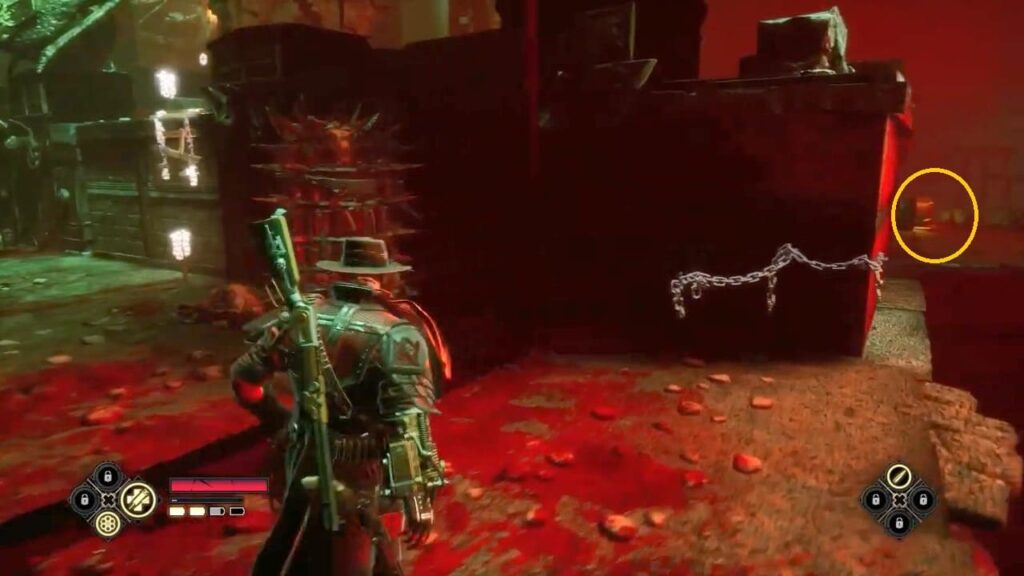
Continue along the main path. Drop down and defeat all of your enemies. Then go to the ledge at the platform’s end and walk along the left wall with highlighted chains. Collect the Bucks from the chest.
15 – Peter D’Abano’s Notes 2/3
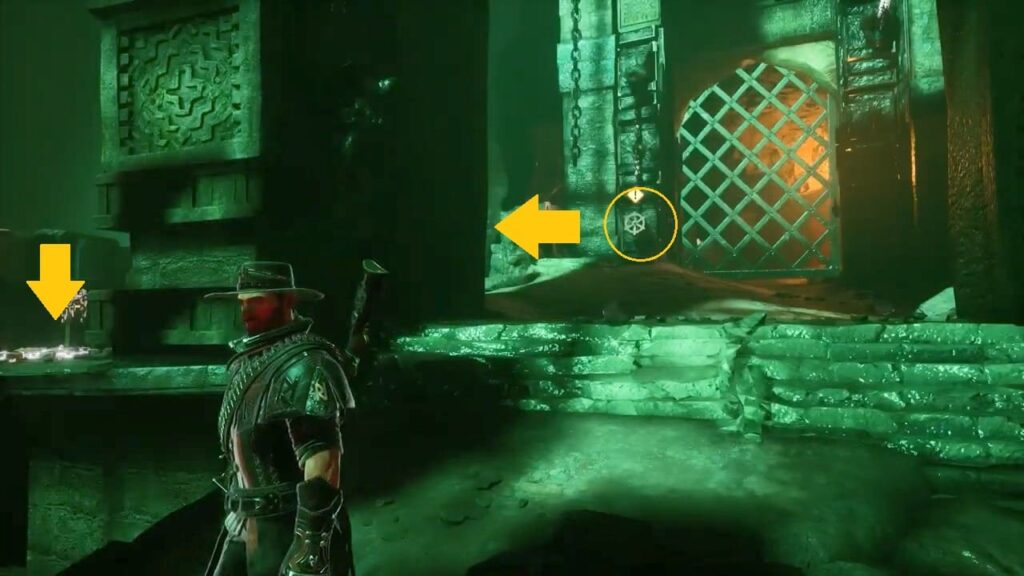
Climb the indicated ladder, which is close to the preceding item. Defeat all flying enemies (Screeching Devils ) before climbing another highlighted ladder to reach a closed gate. The collectible is behind the closed door. You must turn two-wheel cranks to open this gate. Crank #1 is on the gate, while crank #2 is behind the pillar across the locked gate.
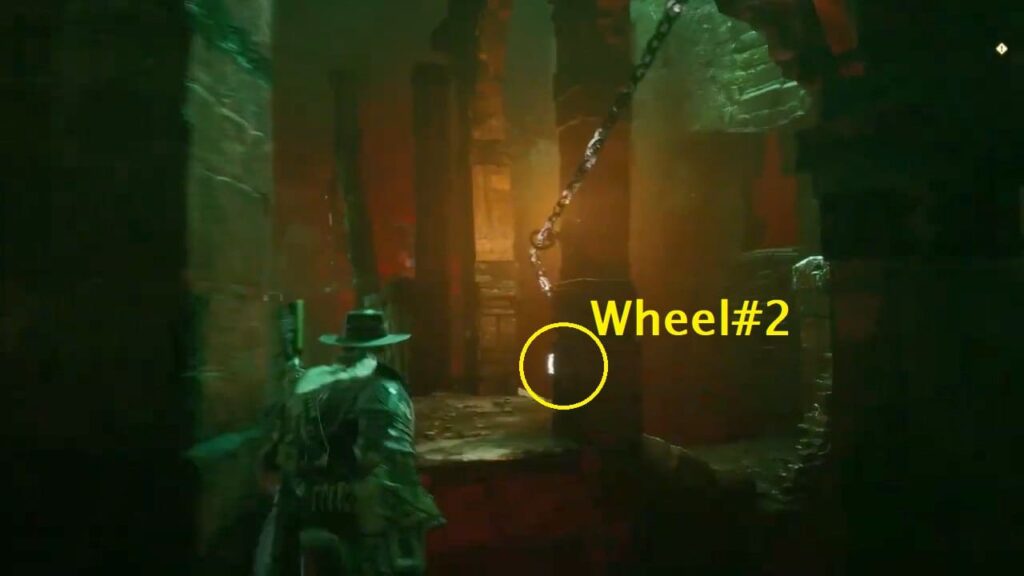
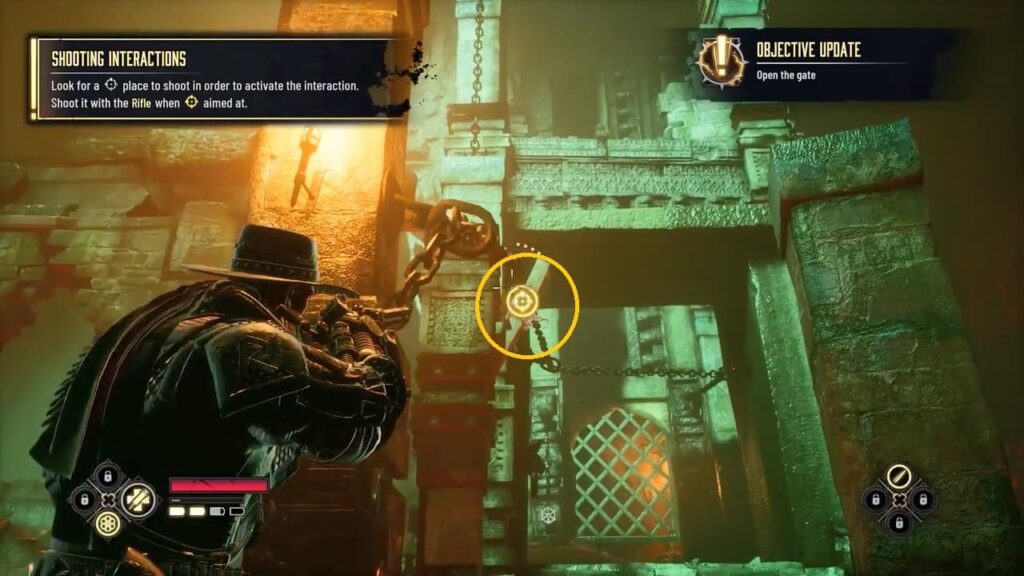
Walk along the right edge of the locked gate until you reach a highlighted chain. Drop down and proceed up the stone steps to crank #2. Finally. shoot at the wooden beam to reposition the grapple point.
16 – Peter D’Abano’s Notes 3/3
Continue down the main path until you encounter Screeching Devils (flying creatures) and Jenu Giants (large mobs). Then, shoot at four massive locks hanging above you to unlock the gate. Continue until you reach a fork in the path. Take the left route for a collectible. The main mission path is the right way.
This completes all the collectibles for The Raid Evil West